One of my favorite quilting methods is Foundation Paper Piecing (FPP) because of how precise you can get with your points and the detail that can be added to a quilt. I learned how to FPP with Judy Niemeyer quilt patterns and have made a few Judy quilts over the years. It doesn't hurt that my mom is a Quiltworx Certified Instructor and has been there to hold my hand when I need it. As I've branched into writing my own quilt patterns, I've been incorporating some FPP details into some of my patterns. A lot of my FPP patterns are great for beginners, just learning how to do this method.
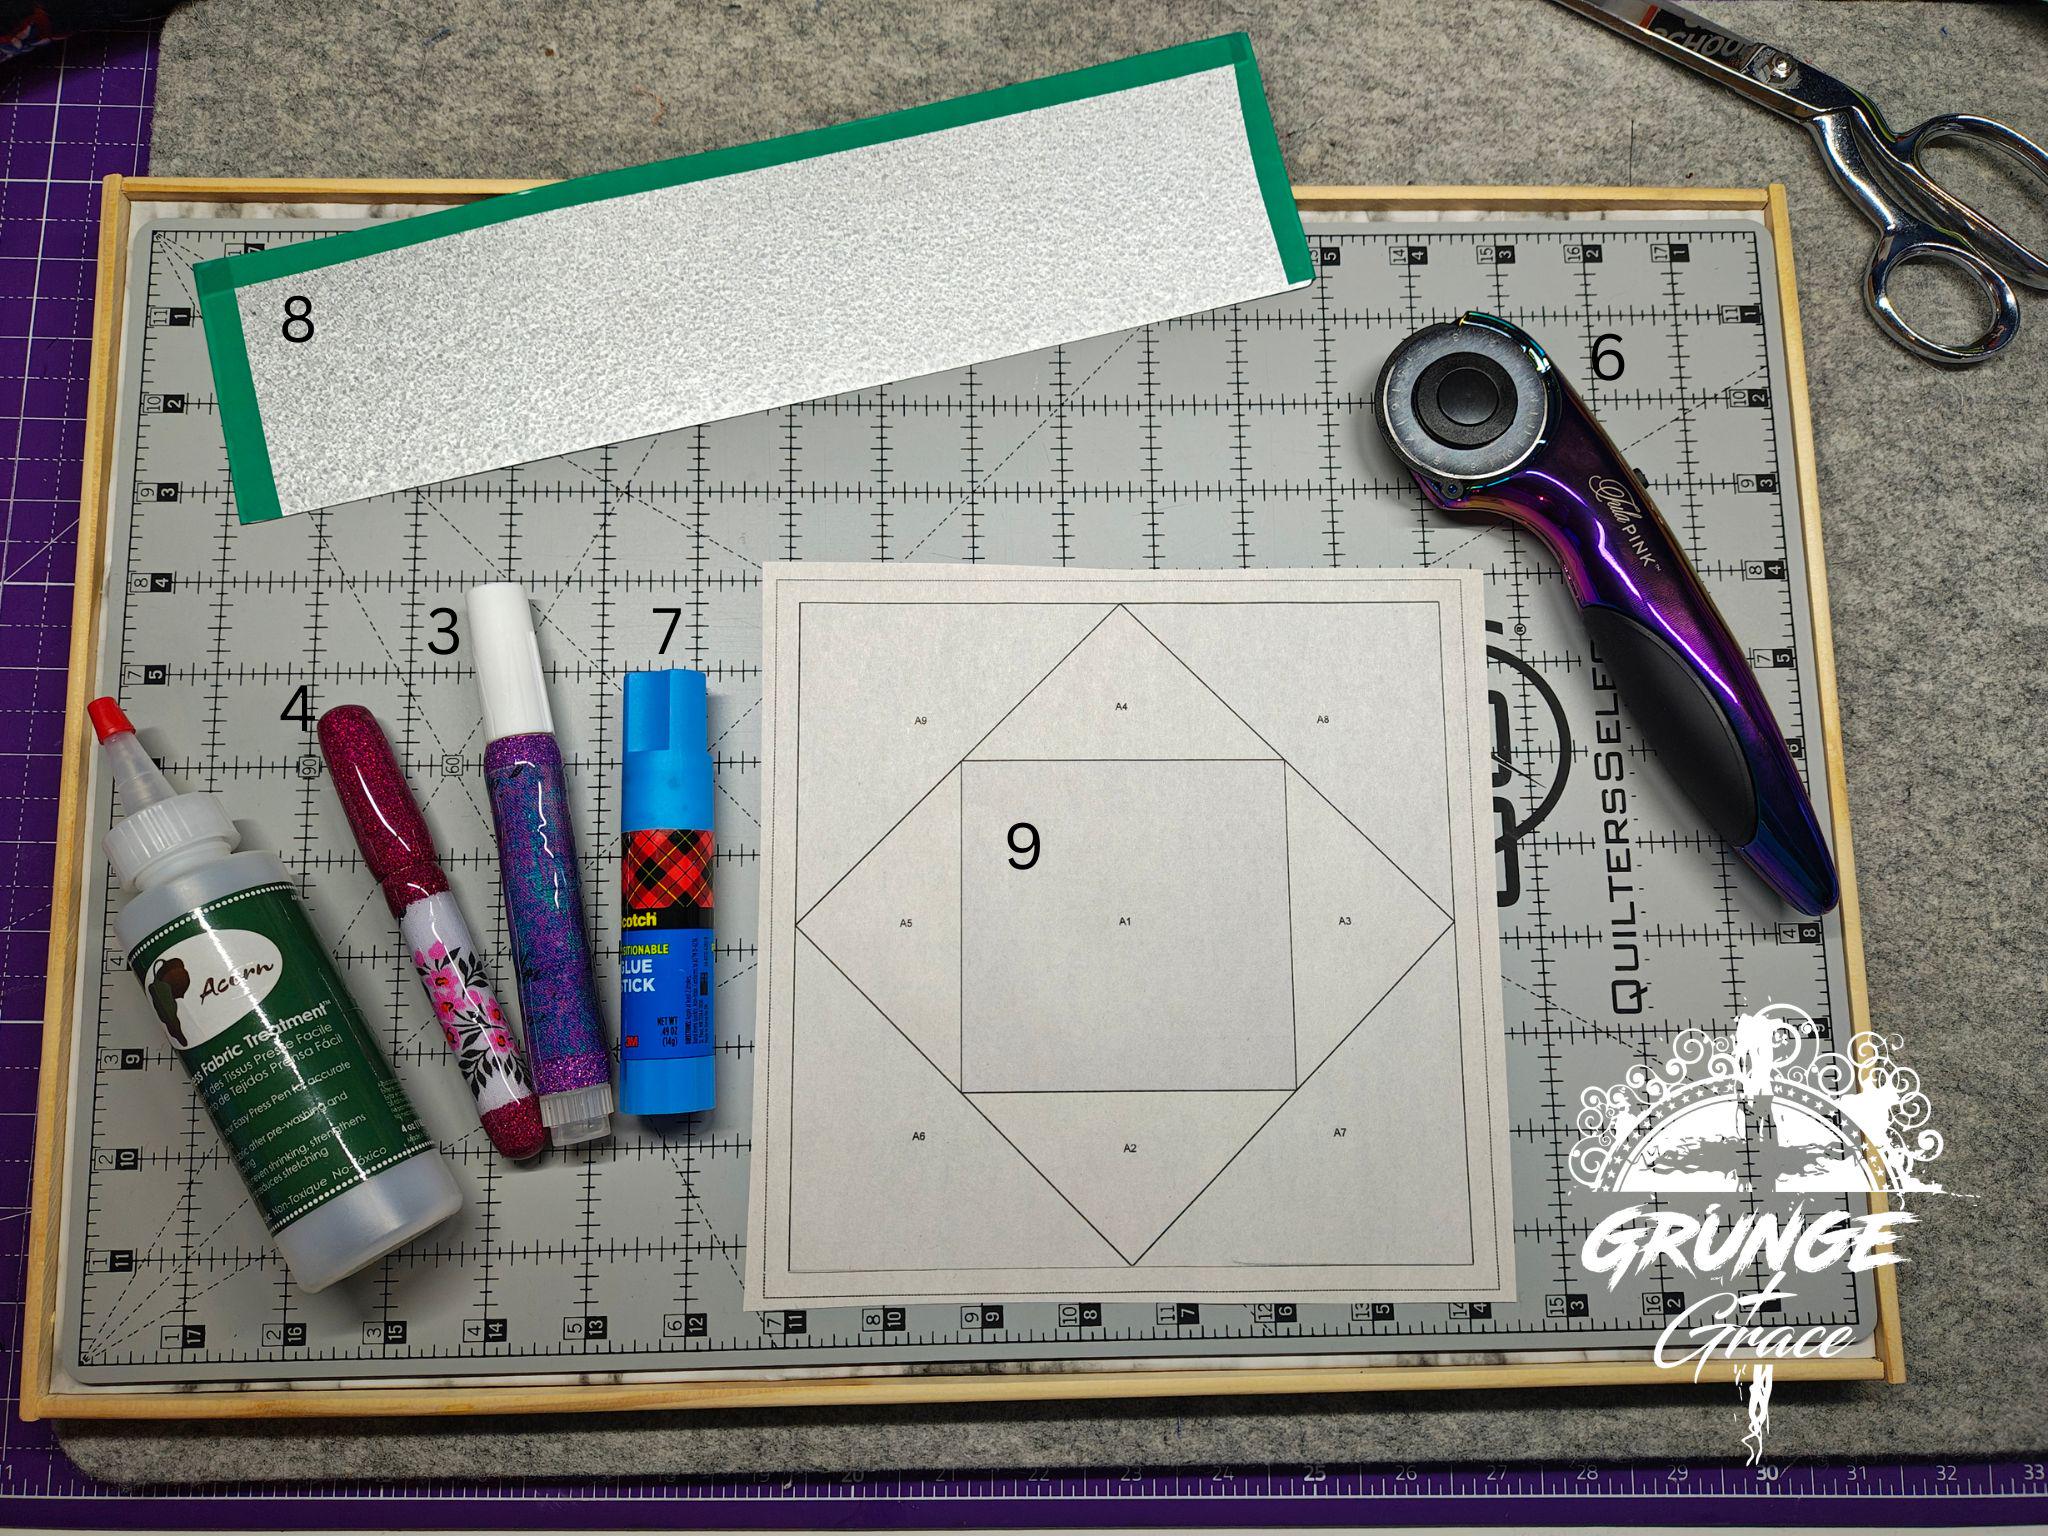
First, let's start with what supplies you'll need. I'll explain what each is for as I list them off.
1. Sewing machine with 1/4" foot (not shown). You will need a 1/4" foot to sew units together during construction.
2. Iron & Ironing Surface (not shown)
3. Starch Pen and Acorn Easy Press Fabric Treathment (optional). This is used to press seams while sewing, I've found that the Acorn Easy Press Fabric Treatment gives the flattest press and use it on all of my quilts.
4. Sewline Glue Pen. This will be used to hold your next fabric in place before sewing.
5. Add a Quarter Ruler (not shown). Used to trim the seam allowance.
6. Rotary Cutter
7. Scotch Repositional Glue Stick. This is used to hold your first fabric to the foundation paper. I also use it when cutting fabric to templates, generally something done with the Judy Niemeyer quilt patterns.
8. Fold Template. This can be any thin plastic or cardstock/postcard. I have a magnetic sheet under my cutting mat, so my fold template is metal.
9. Foundation Papers for the block you are working on and fabrics needed for the block.
10. Cutterpillar Lighted Cutting Mat (not shown, optional). This helps to make sure that your next section is covered by the fabric you're about to sew in place.
11. Ruler to use when trimming blocks (not shown)
Some of the tools I use are optional, but recommended. In this tutorial, I won't be using the Cutterpillar Mat, but will be using the other tools listed.
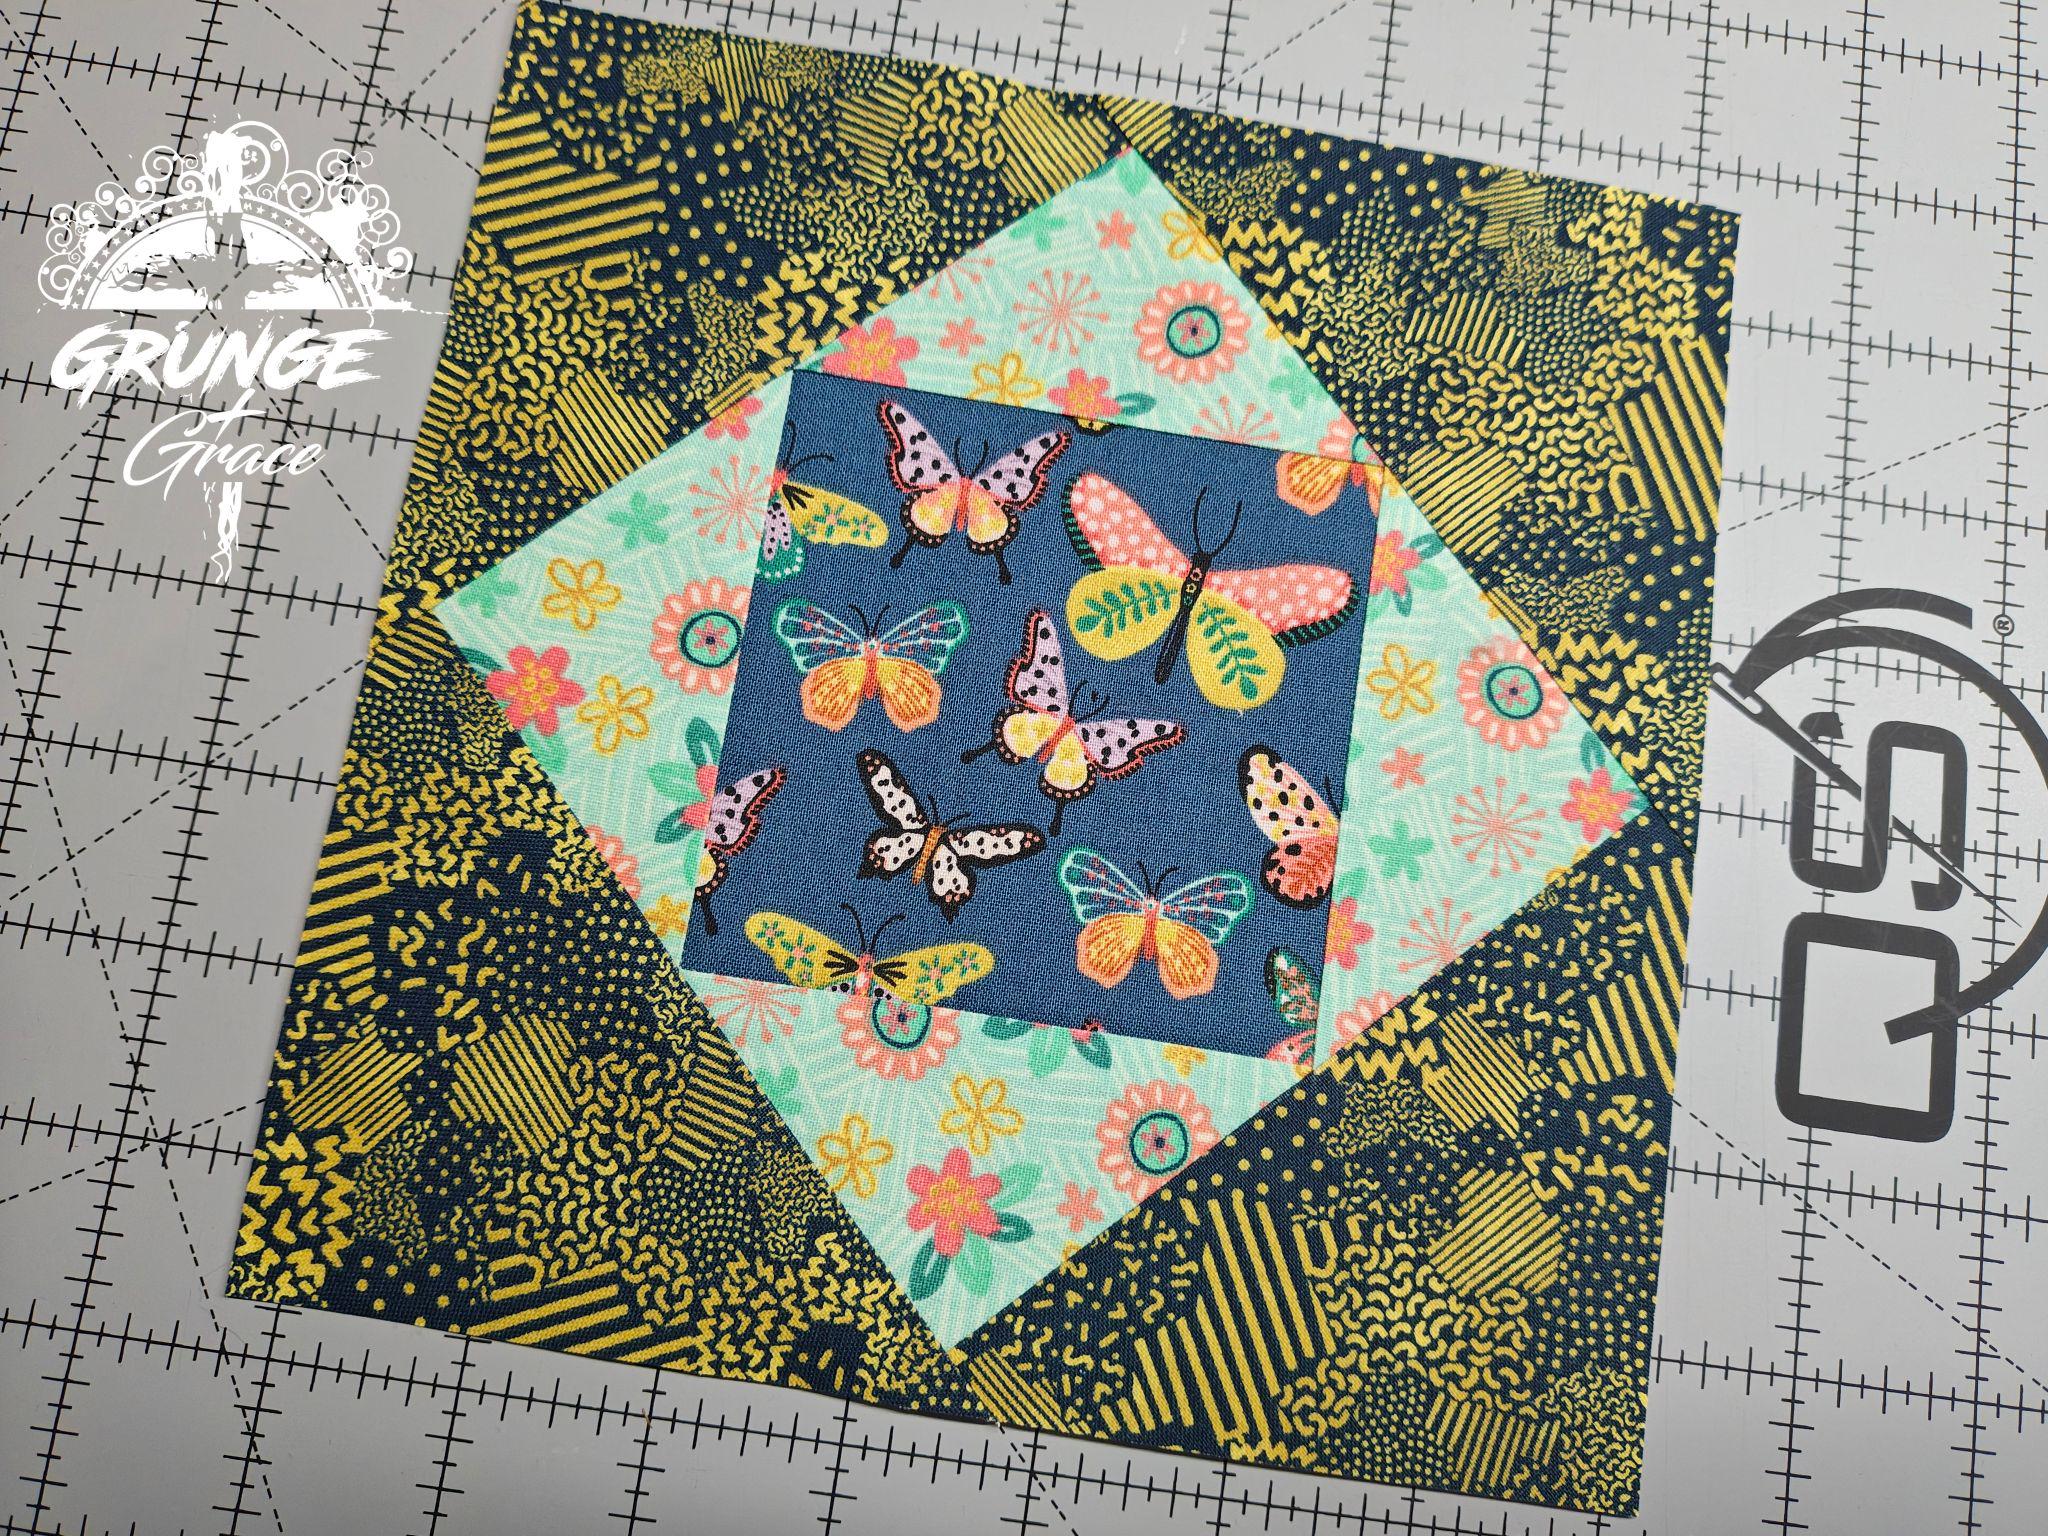
First, your fabric will need to be cut to size. Most patterns will give you either sizes to cut or templates to cut your fabrics from. In this tutorial, I'm making a 7" Economy Block, such as the one I use in my Mystic Wall Hanging pattern.
At this time, I also trim my foundation papers. I typically trim about 1/8" to 1/4" from the trim lines.
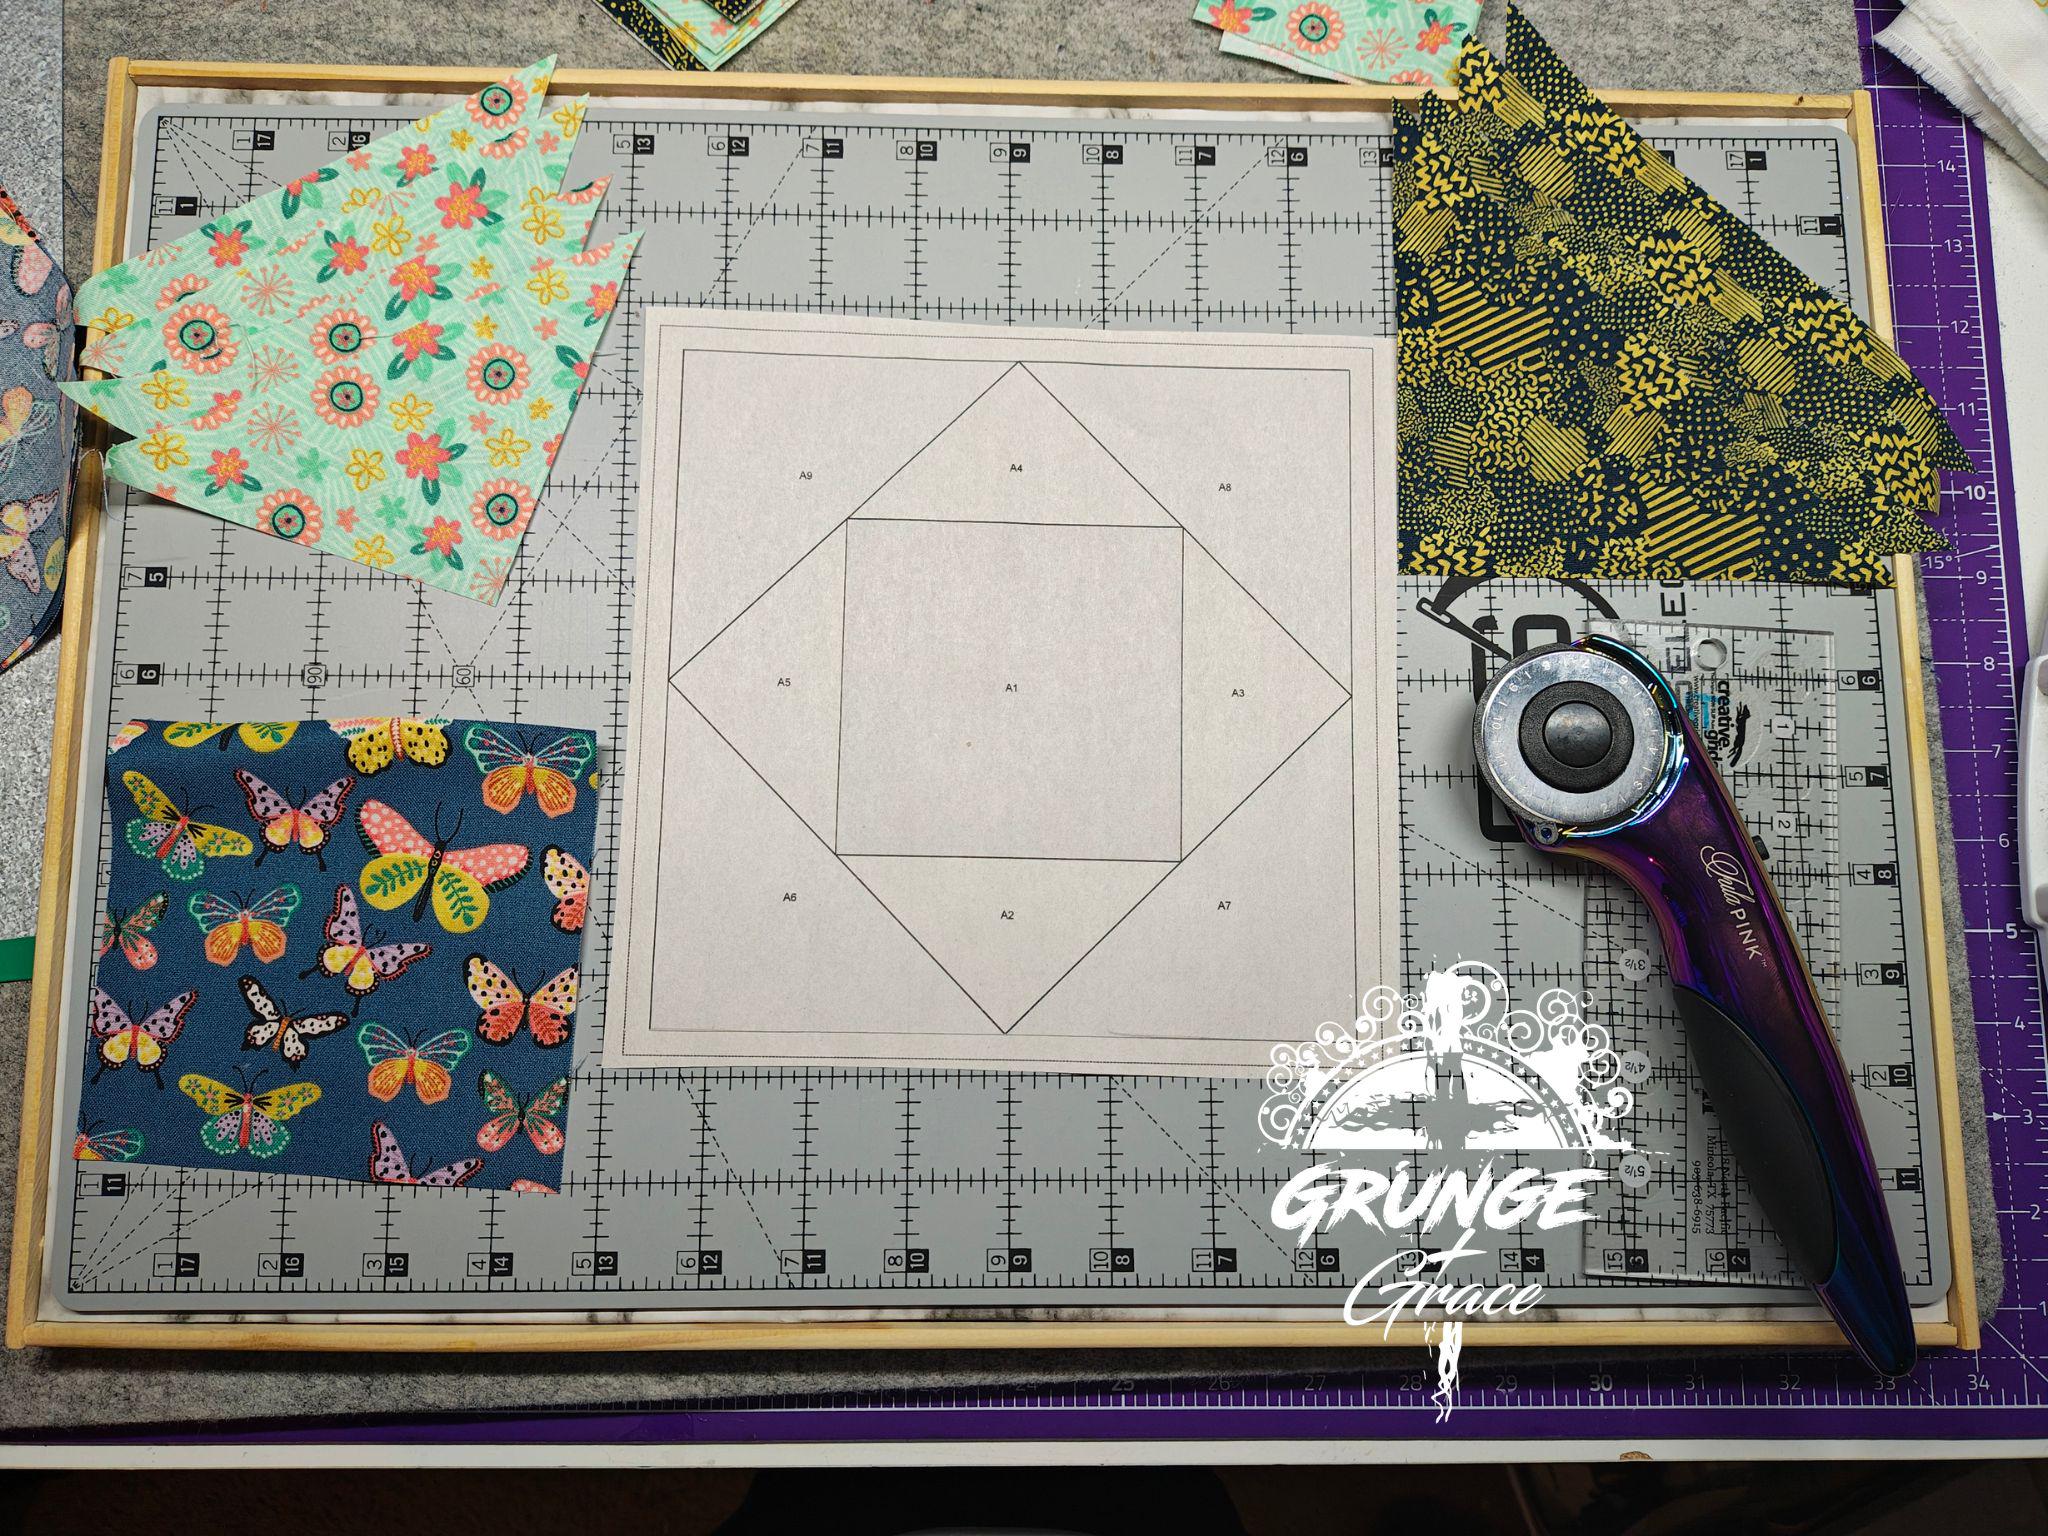
In my pattern, I have the directions to cut all of the fabrics needed: a focal fabric, contrast 1 and background.
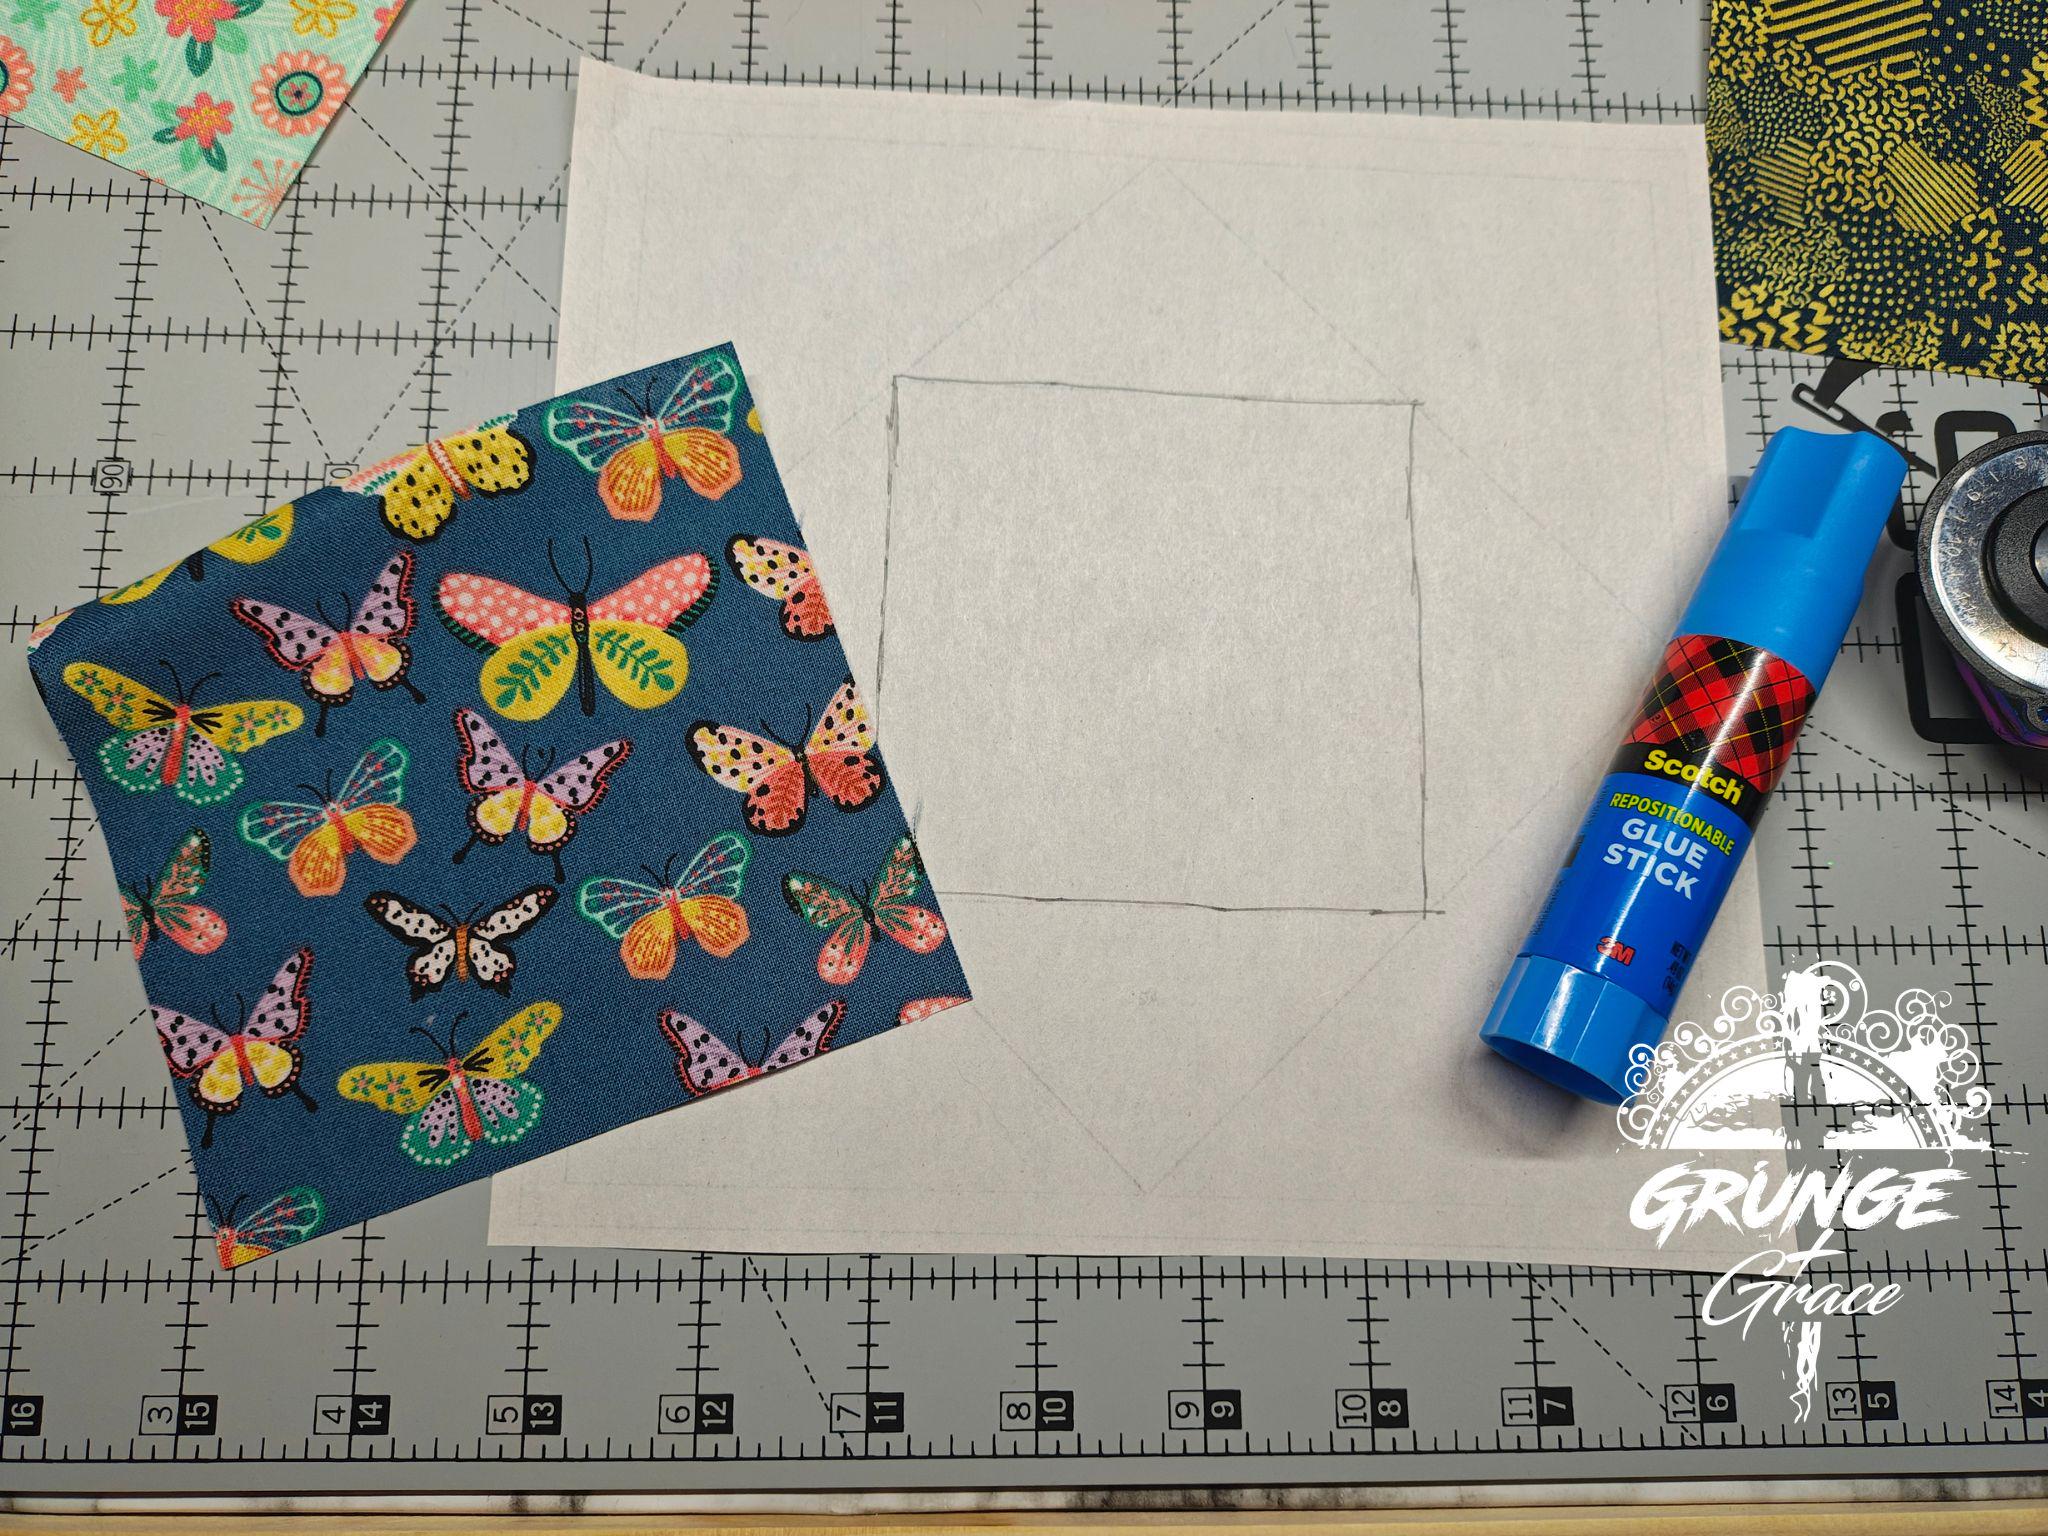
If you're not using a lighted cutting mat, then you will want to trace the lines for your first fabric on the back side of the foundation paper. One thing that people have struggled with when sewing FPP blocks is that you're working backwards. All of the fabrics are sewn to the back side of the foundation paper. Your block will end up being a mirror image of the front side of the paper. This can be a little confusing when working with more complicated blocks, or with image/letter blocks, but the economy block is a simple, straightforward block that is great for beginners.
You will use the Scotch Repositional Glue Stick to attach your first fabric to the back of the paper, making sure that it fully covers the area you marked previously. Make sure that at least 1/4" overlaps on all sides to allow for your seam allowance.
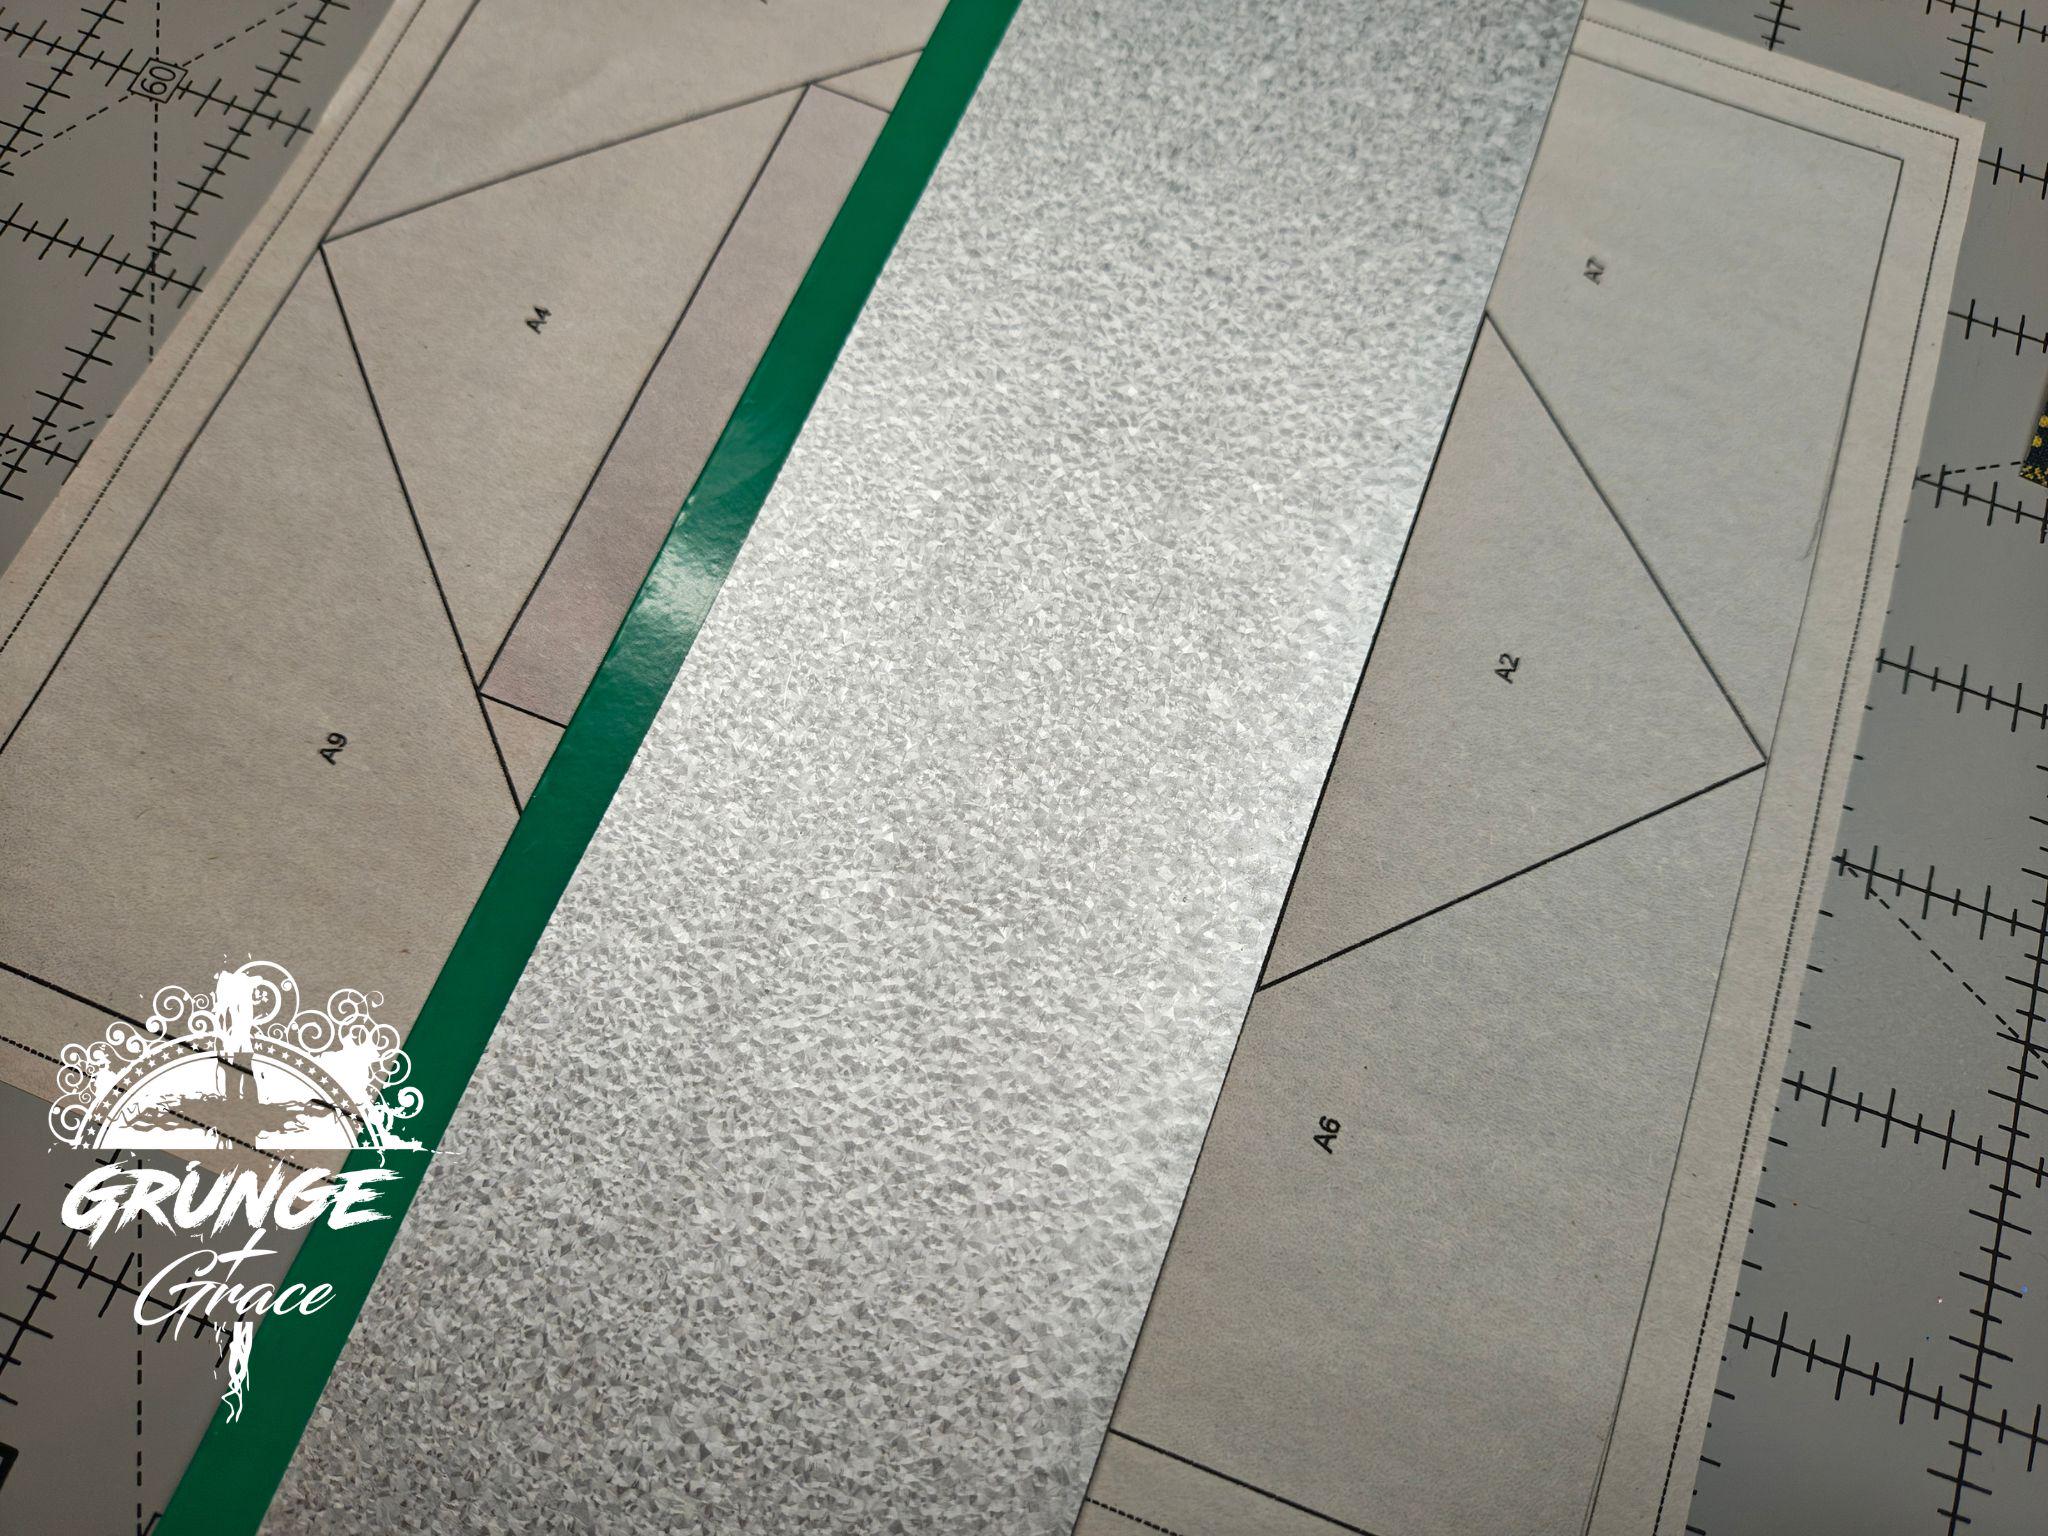
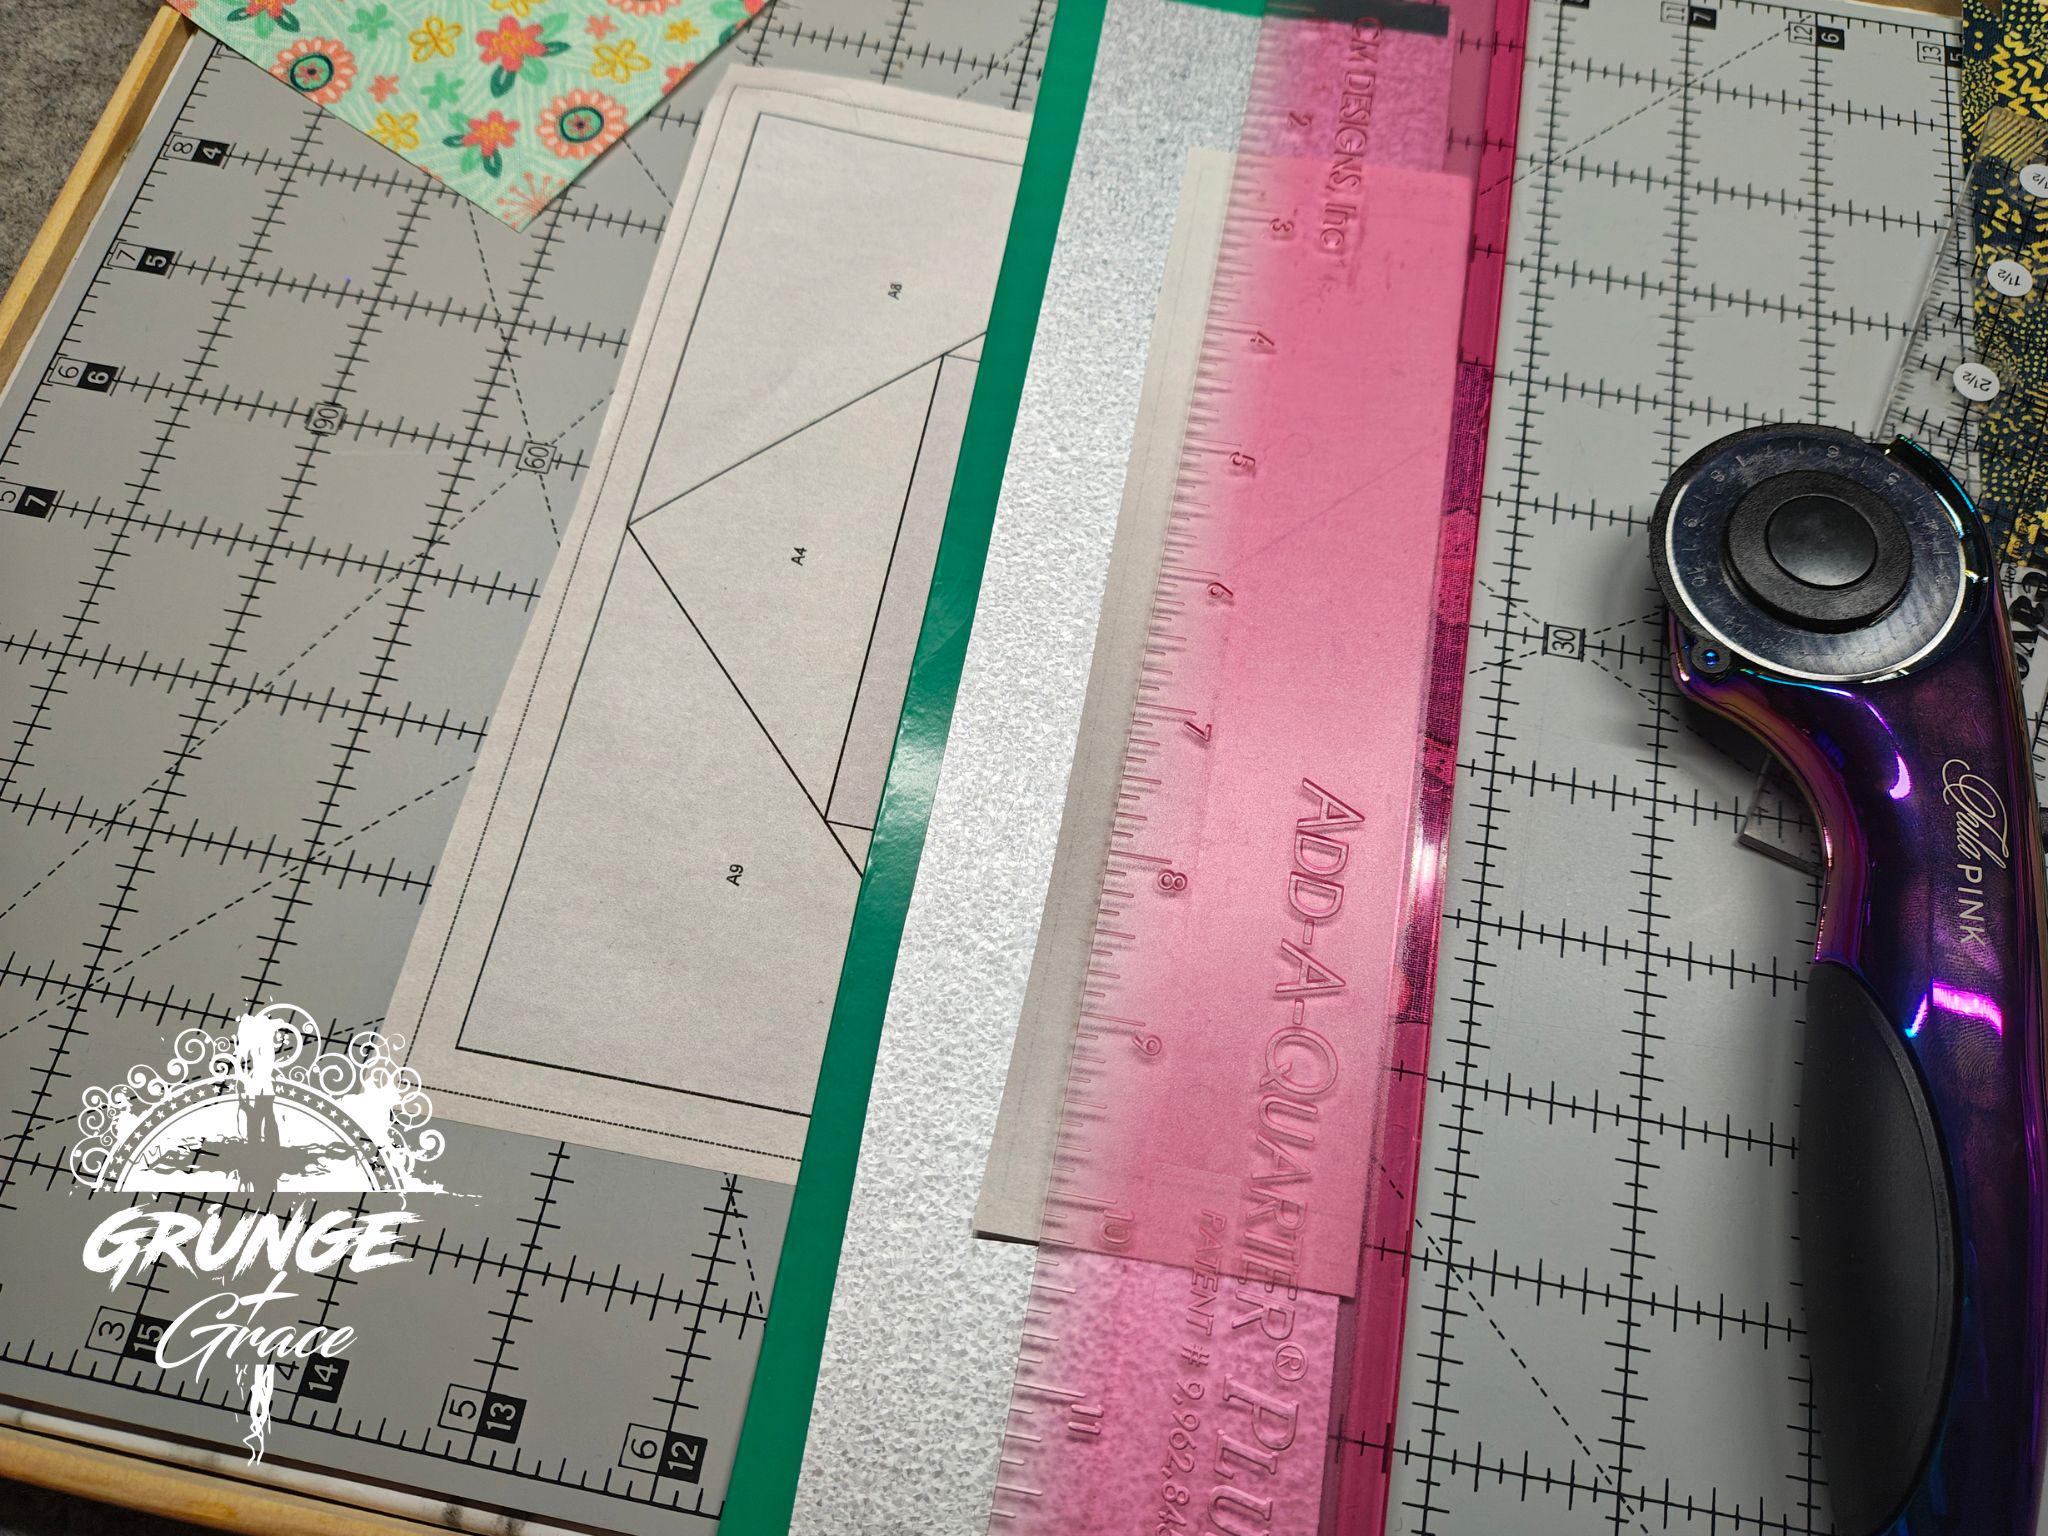
Line up your fold template on the sew line between your first and second sections. Sometimes the sew lines are labeled, but not all designers label this.
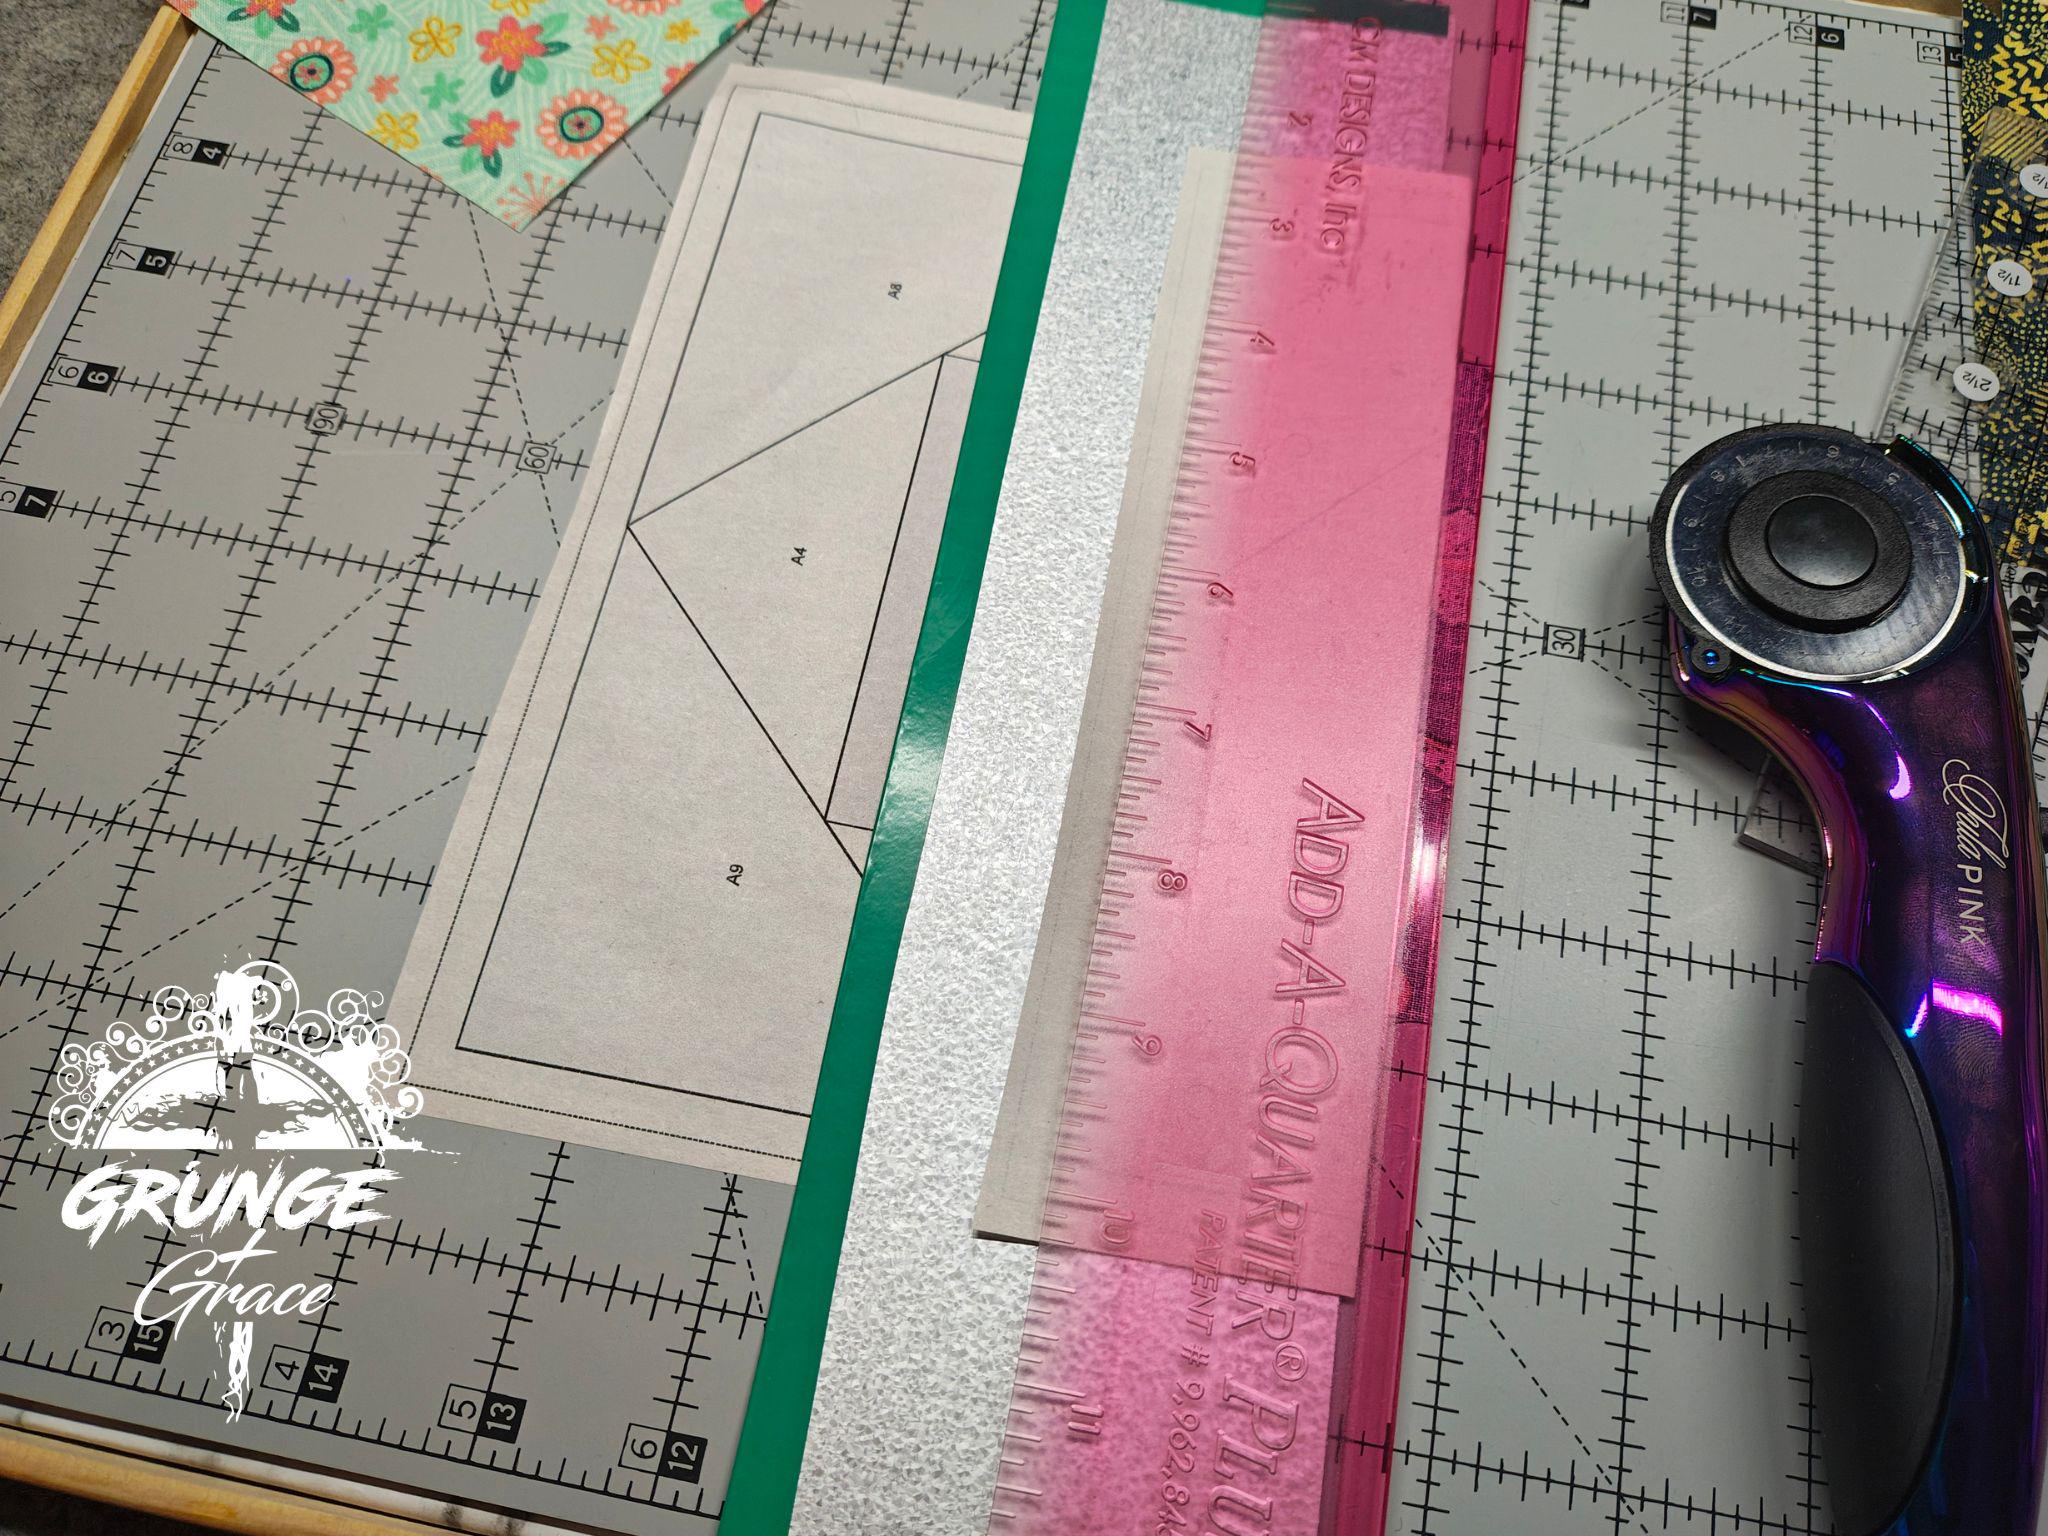
Line up the Add a Quarter Ruler on the edge of your fold template and trim the excess fabric.
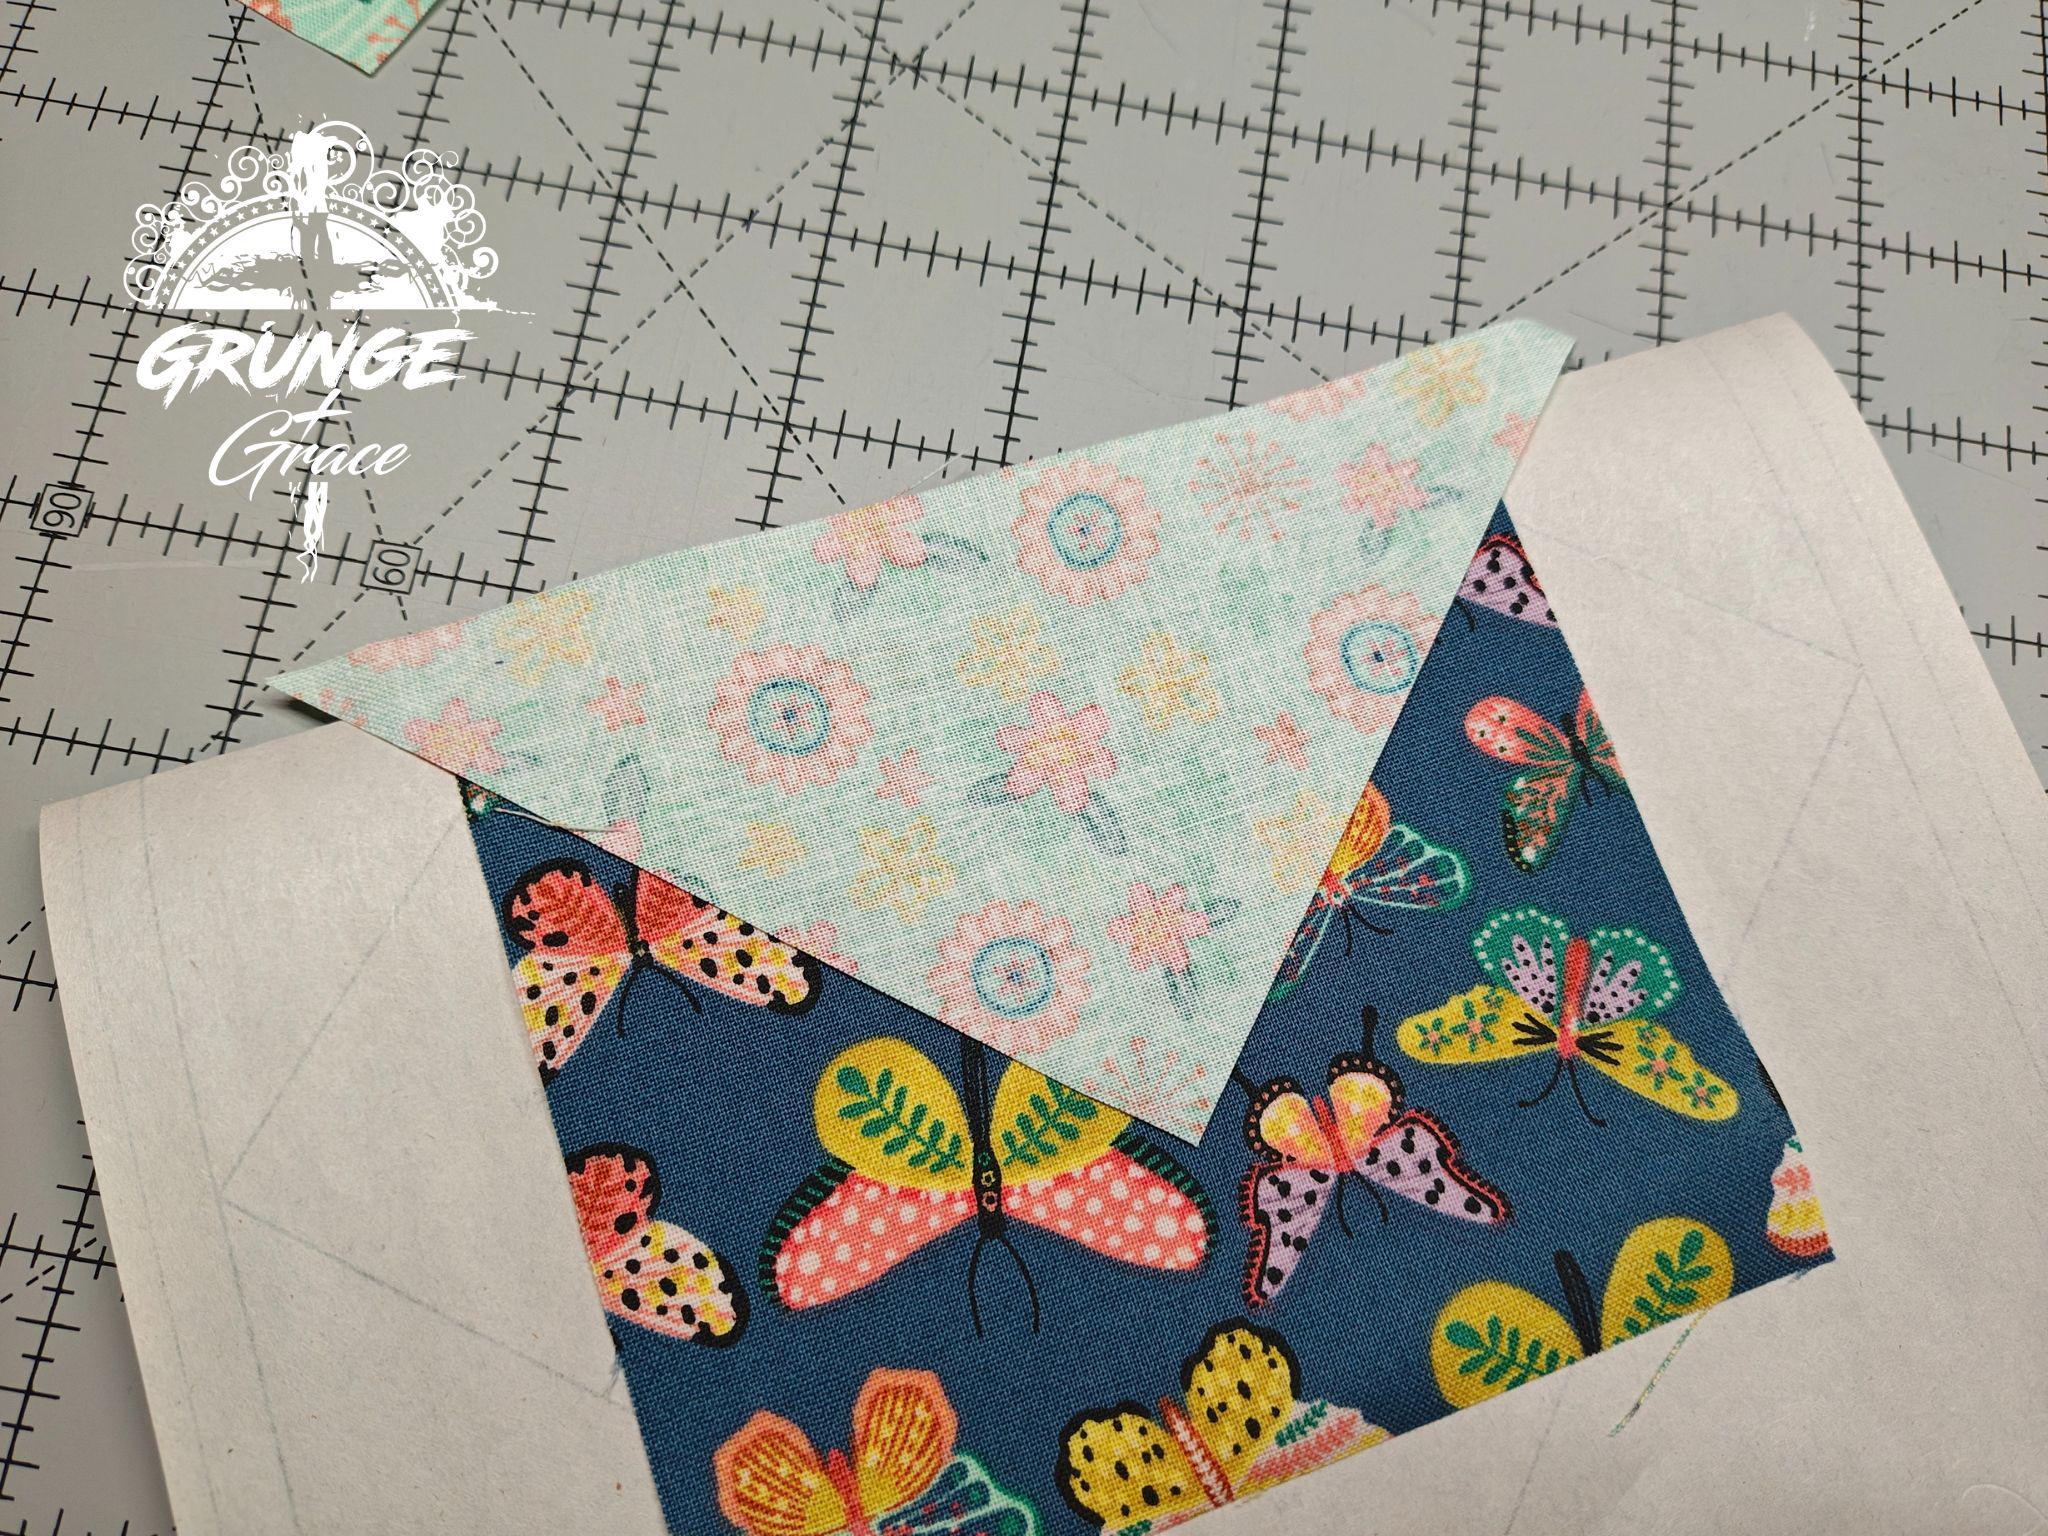
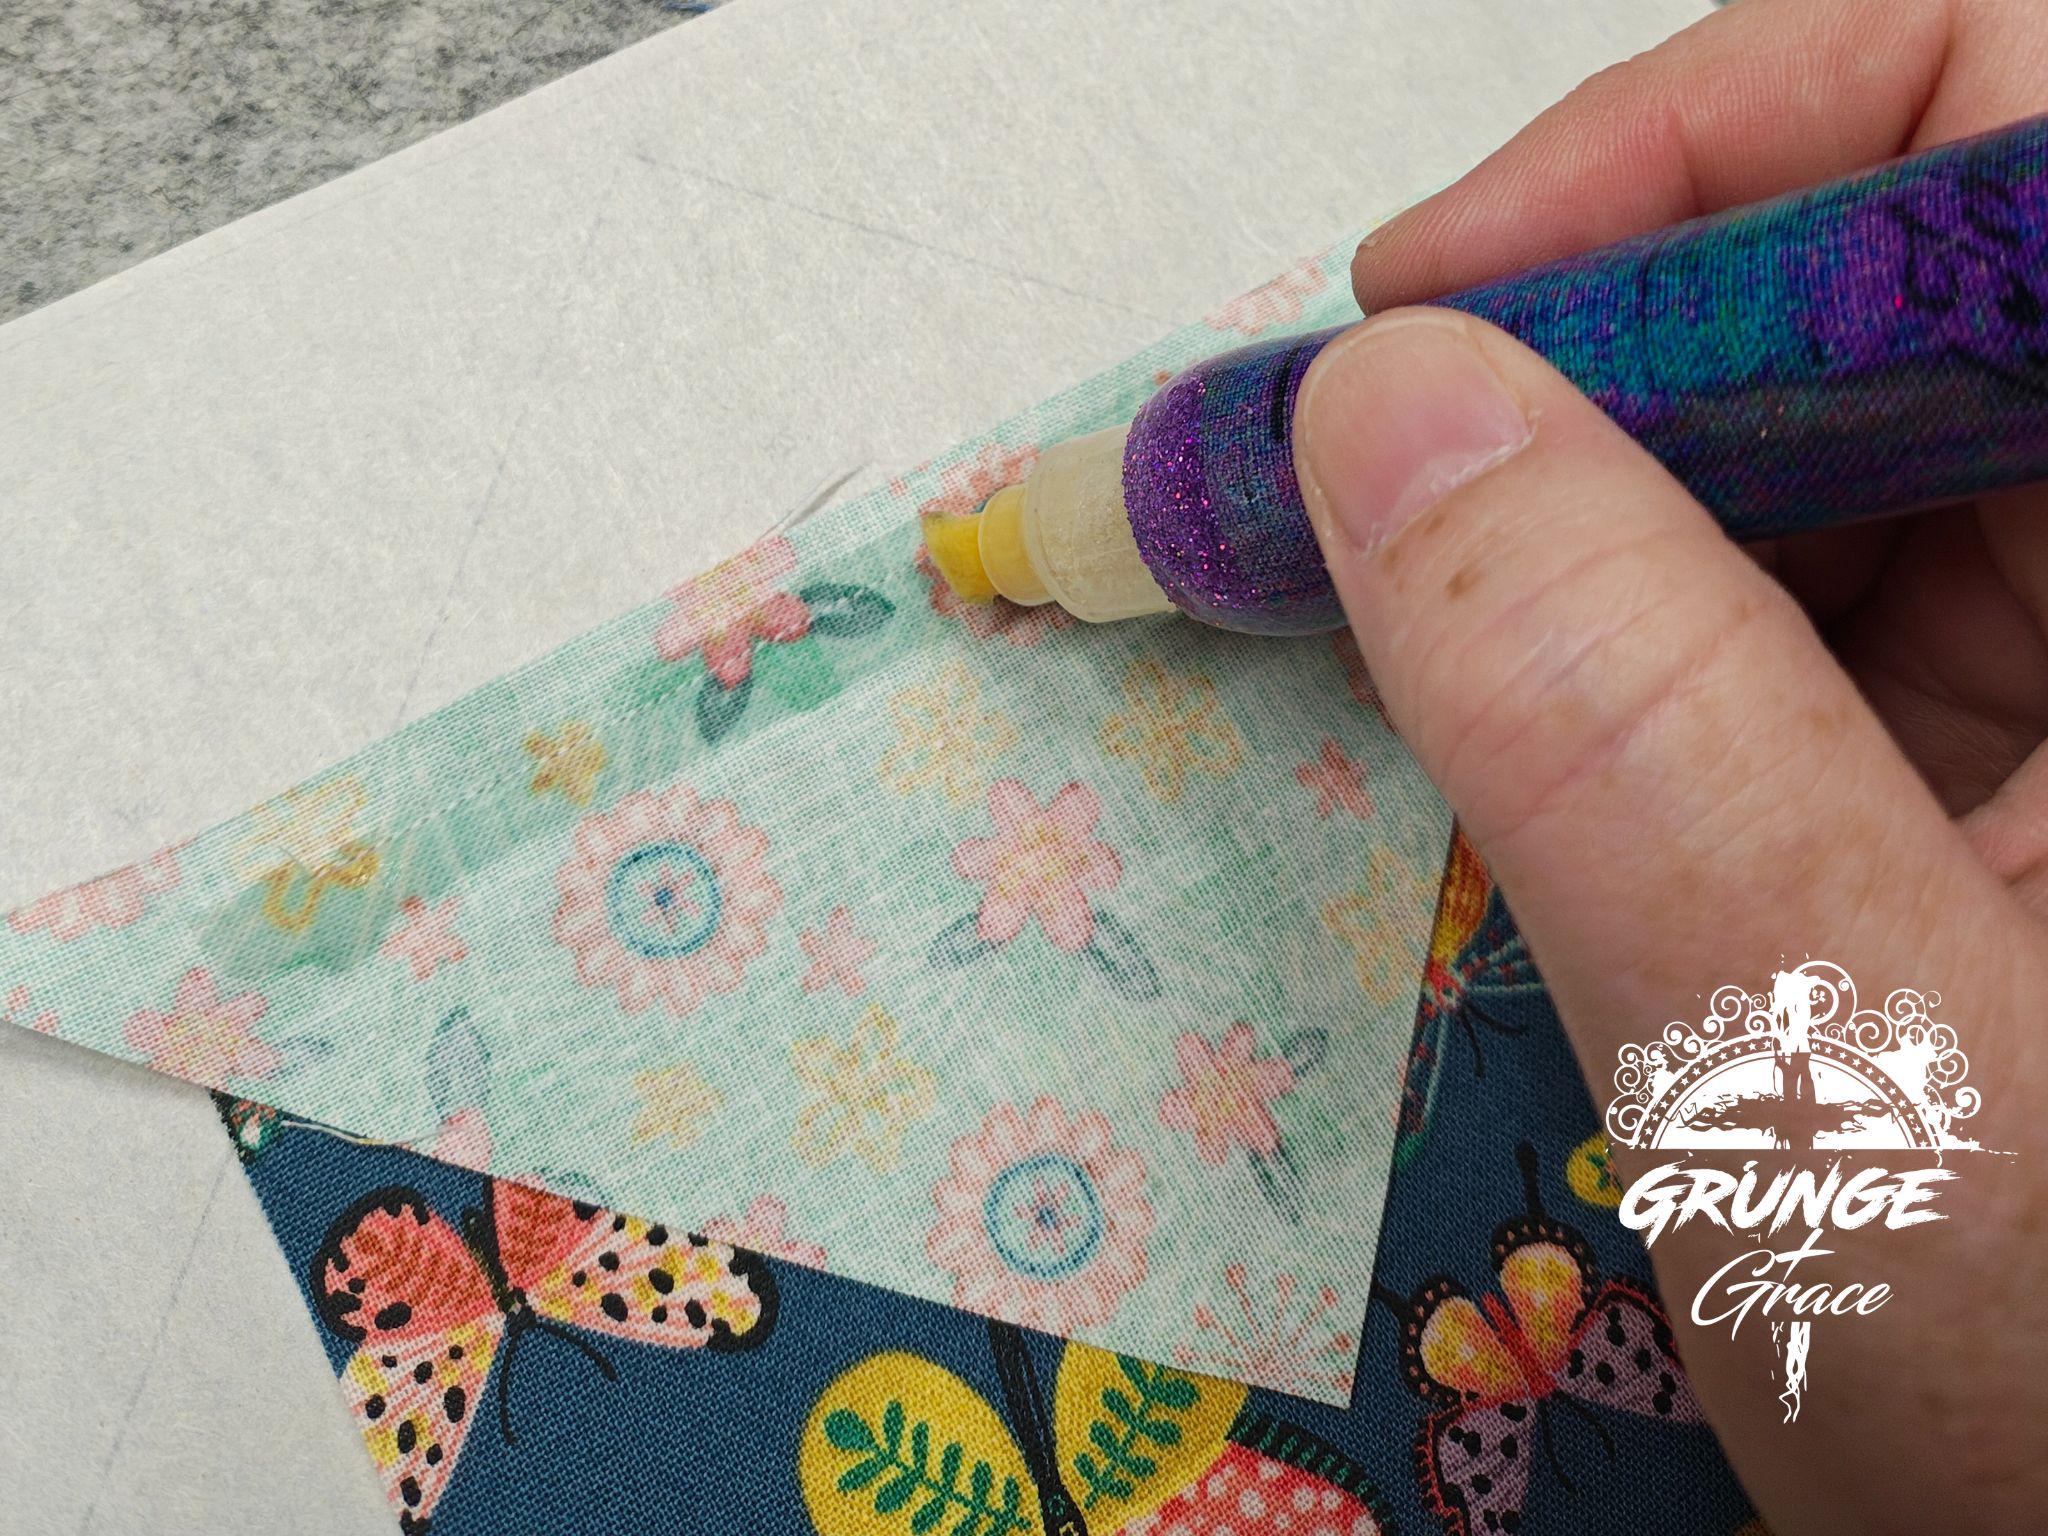
Line up your second fabric along the edge you just trimmed. Make sure that your second fabric will fully cover its section on the foundation paper. This is where the lighted mat comes in handy, being able to see through the fabric and paper to ensure coverage. Use the Sewline Glue Pen to draw a thin line in the seam allowance to hold your fabrics together.
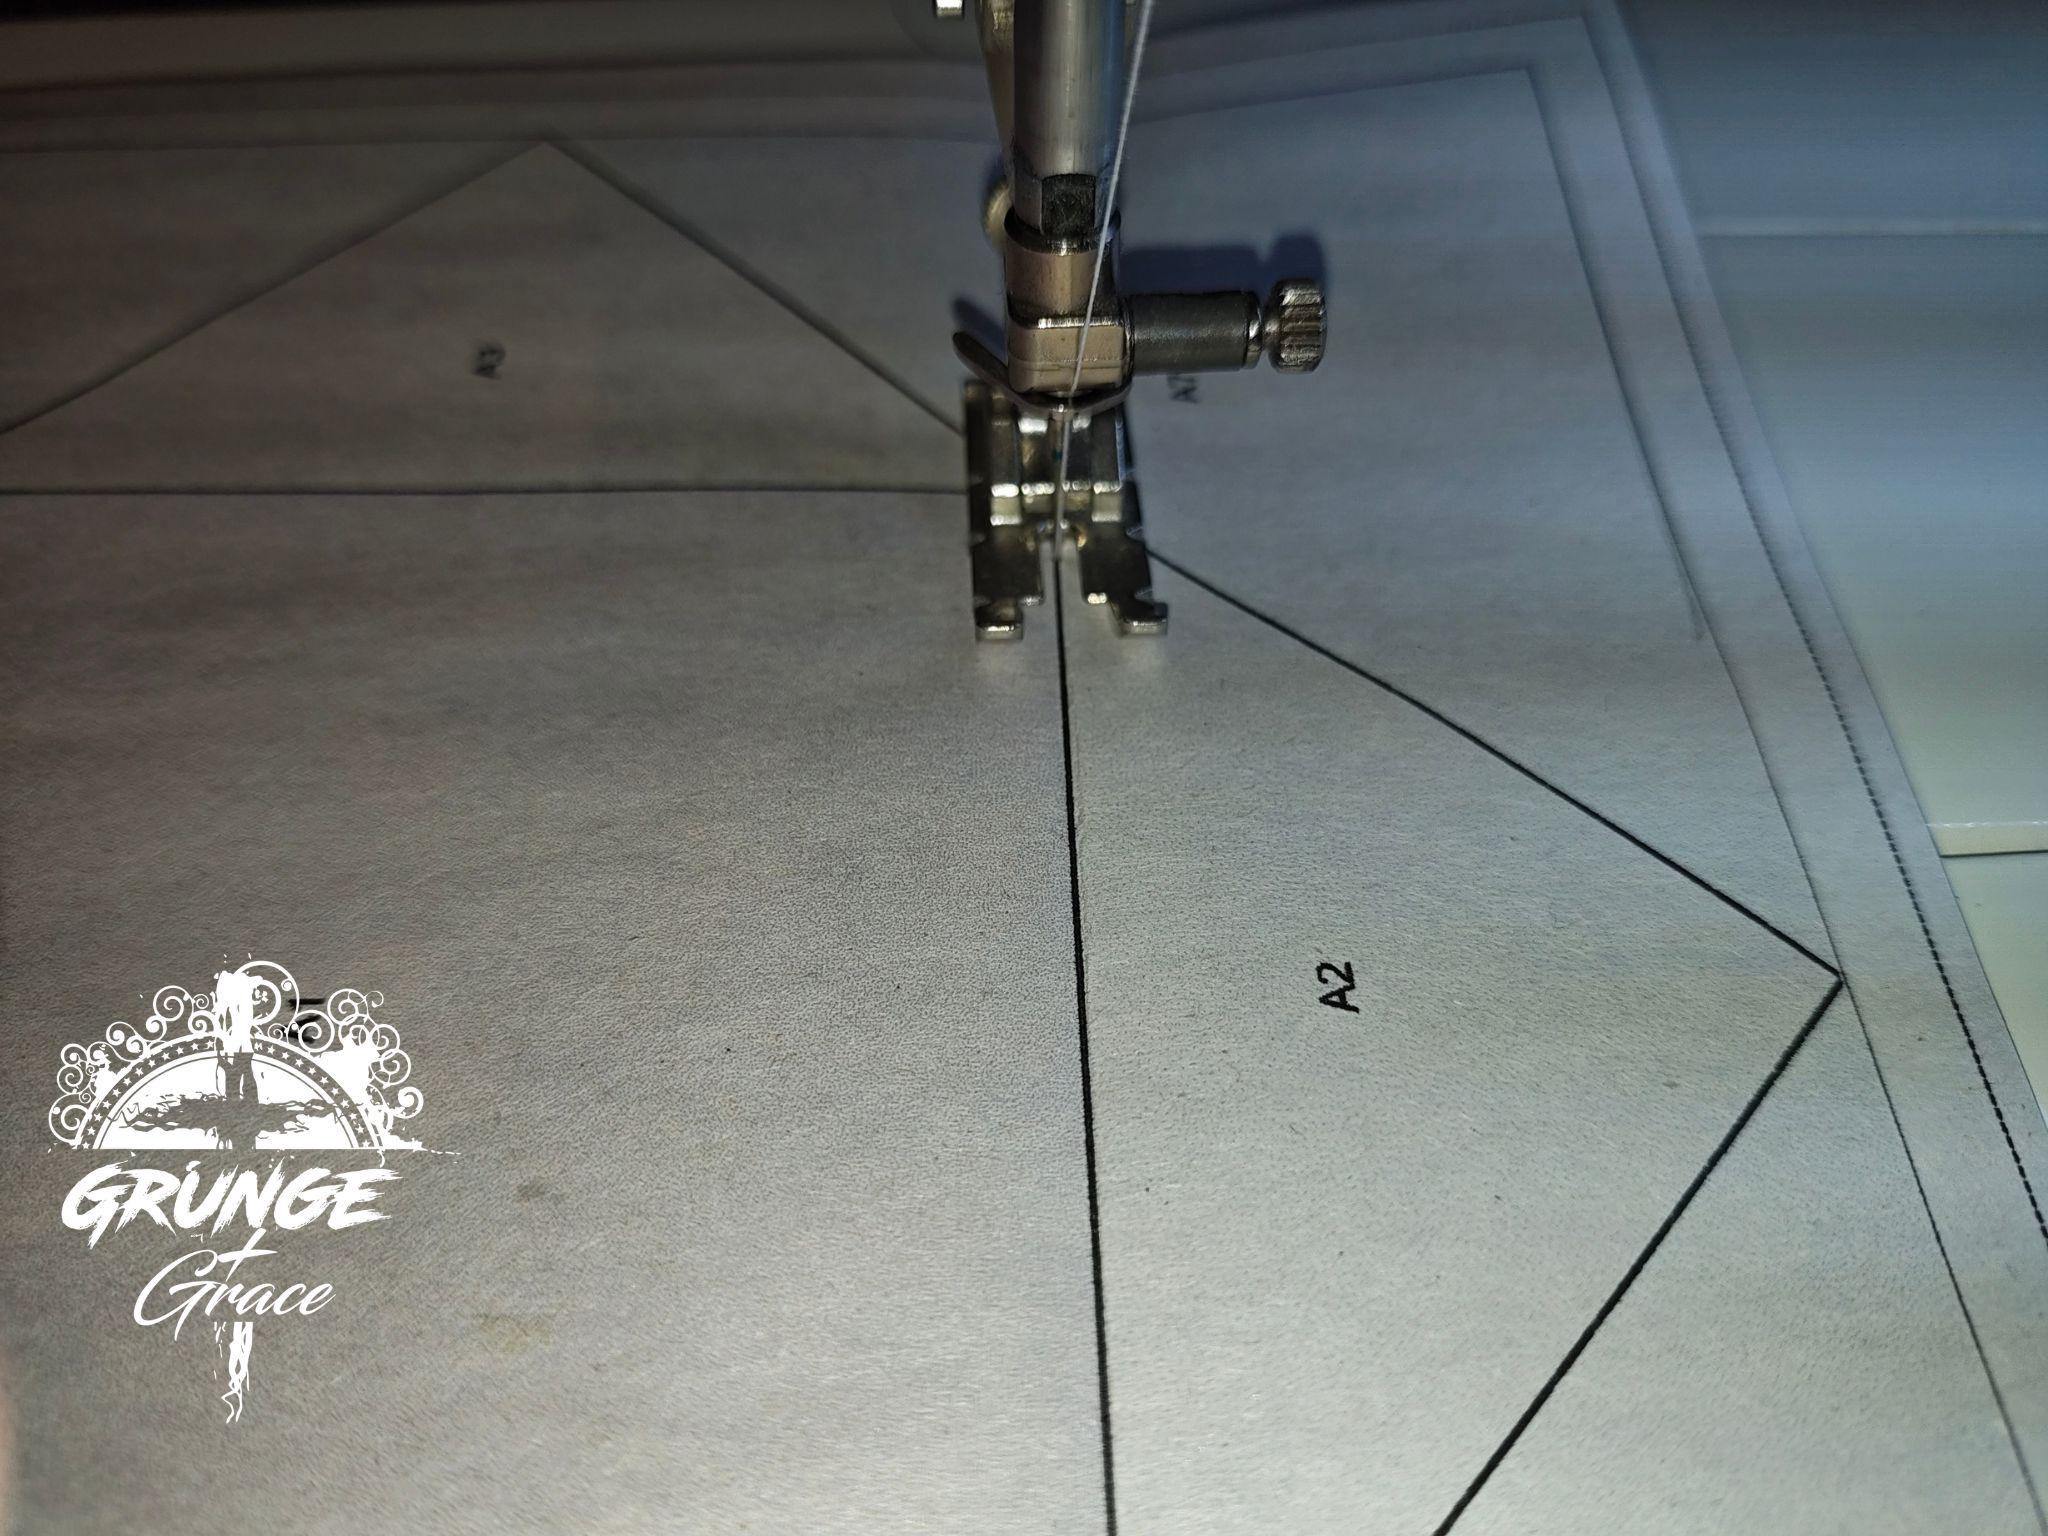
Reduce your seam length to around 1.8 and proceed to sew along the line between your first two sections.
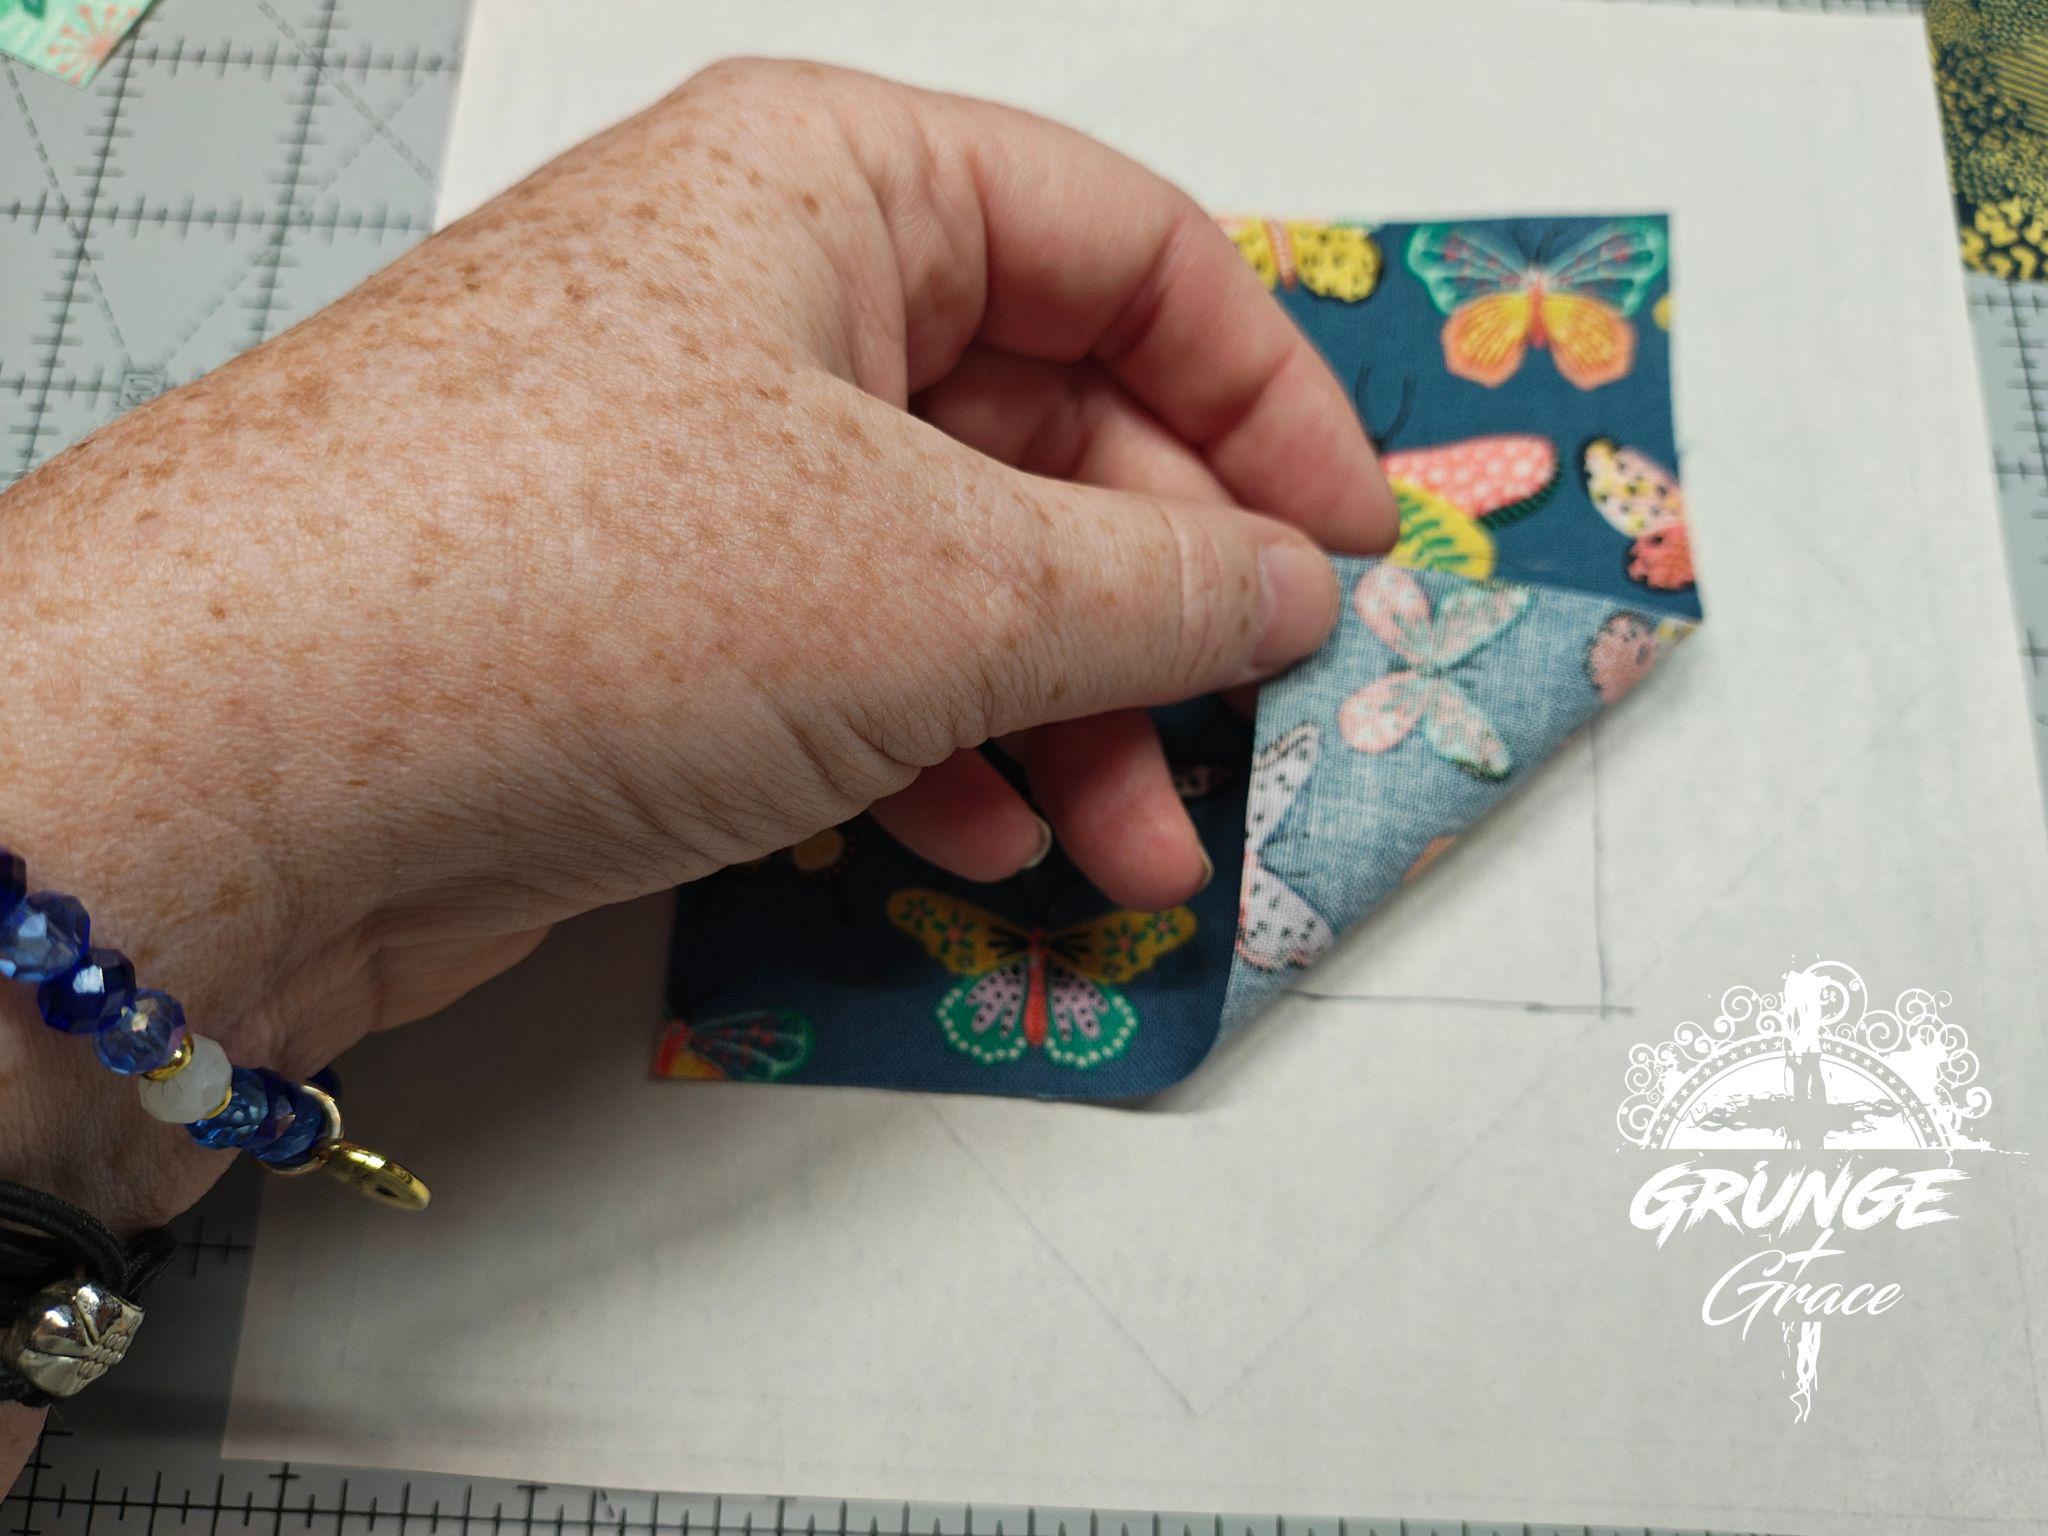
I like to use my Acorn Easy Press Fabric Treatment here, applying a line of the starch solution to the seam line, then pressing the fabric. I forgot to take a picture of this part being pressed. I pushed the light teal fabric over and pressed so that the seam allowance is going away from the middle fabric.
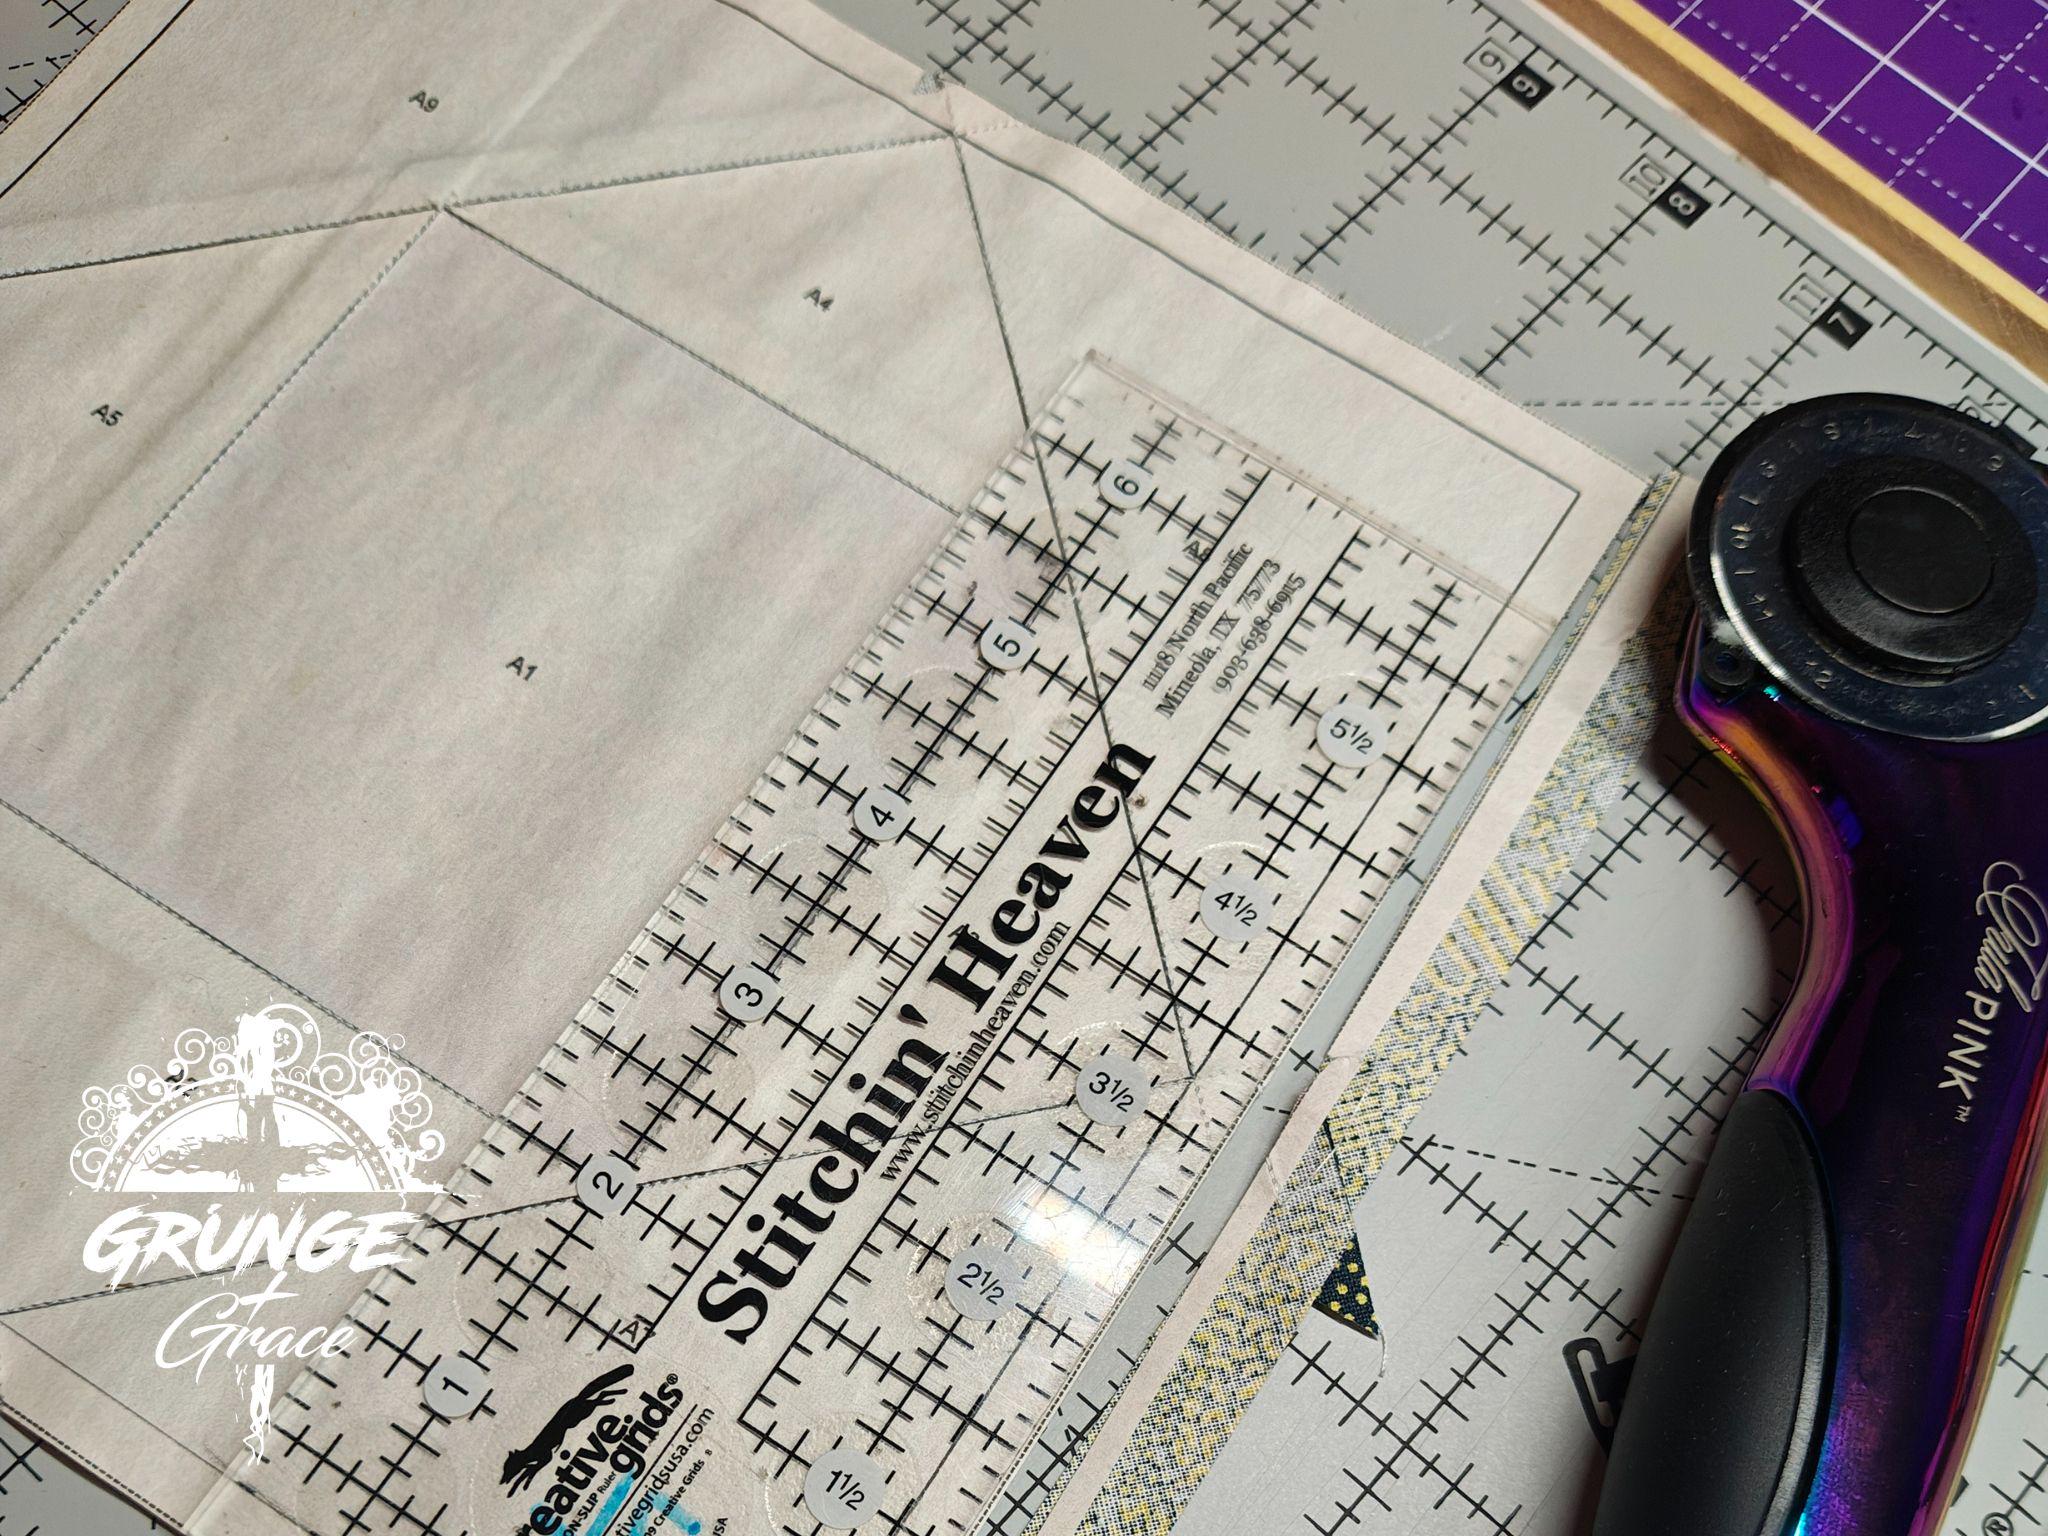
Line up your press template on your next sew line, in this case, the line between A1 and A3. Fold your paper back, line up the Add a Quarter, and trim. Line up your next fabric, glue in place, and sew.
You will continue this process until the block is complete, following the numbers in order on the foundation paper.
As previously mentioned, my mom is a Quiltworx Certified Instructor and I'm going to pass on a trick she shared with me to remember what to do after taking your unit off the sewing machine. I.F.A.T.
I - Iron
F - Fold
A - Add a Quarter
T - Trim
One you've sewn your final section of fabric in place and pressed it, you'll need to trim your block. My blocks all include the seam allowance on the papers, giving you a line to trim on. This block will measure 7.5" unfinished, and will be 7" finished when sewn into a quilt.
And that's it! Foundation Paper Piecing is easy, once you get the basics down. I love how FPP blocks look when finished and love the never ending possibilities that they open up in my quilting. With FPP, you can get some amazing detail in your quilting designs, such as those seen in Quiltworx patterns. I personally love how sharp my corners come out when paper piecing vs trying to make those sharp corners on my own.
I hope this post helps you gain some new quilting skills and the confidence to try something new!
Happy Quilting, y'all!
~Krista